Knurling Tool
Mysteries of knurling, yes it is frustrating to say the least, one time they turn out gorgeous and the next is disaster! So with the style of lathe I have it is not good on the bearings to side load them with a push style knurling tool, looking for a clamp style tool I happened on a thread in Practical Machinist where someone posted a print of the very style tool I wanted. Being that my experience with a mill is very limited I chose this project to learn its capabilities and expand my knowledge. It has been around 12 years since I have read and used a print, as they say I you don’t use it you loose it and that is so true besides my background lies in ID and OD grinding not making chips. There are a lot of talented people on the PM site with some fantastic shop made tools which make mine look like dime store items but we all have to start somewhere. I ordered a 2’ piece of 1018 cold roll steel from small metals, then had my neighbor cut two 5” pieces out of the ¾” x 2 ½”x 2’ bar of the bar, I do not have any means other than a hacksaw to cut steal at this time and with his saw it is accurate and quick. The next step was to mill both pieces to the exact length then use layout die so the holes and pattern can be laid out. My means of laying out the lines was to use a dial caliper, I have a height gage but it has the wrong carbide scriber so the caliper has to do.

Pattern Lay-out
Making the first chips, all the holes are drilled and reamed except for the corner radius holes which I didn’t ream for they would be blended with a mill cutter on final shaping. At this time I still hadn’t decided whether to spend the time sweeping the arcs with a rotary table, the other option would be to do a geo pattern. Milling the two mating surface halves was the first cut then all the end slots for the knurls and the rear tension screw.

Drilled functioning holes

Drilling corner radius holes

Milling mating surfaces

Marking end slots

Finished slots
Careful planning on which cuts to make first to take advantage of clamping surface is the main priority. At this time I decided to do the straight 60% angle cut and not sweep the arcs and when they were finished the excess material was cut off with a hacksaw. Next the sawed portions were milled and blended into the corner radiuses.

Milling shape

Excess cut off with hacksaw

Test fit
It wasn’t until I assembled the two halves that I noted that more material needed to be removed to allow the scissor to open further, small detail but was expected when altering the original print. The next step was to come up with a tension screw; the print didn’t have any info for that so ya wing it. I found a long 3/8 bolt, added more threads, cut the head off, drilled a hole into a square piece of stock, press fit the bolt in, welded it, milled and drilled it to fit the slot. (I forgot to take pictures of this item) McMaster & Carr has some solid end rods that could be used for this part but I decided to make one.

Planning the tension screw
Now that all machining on the scissor part has been done I assembled everything with what I had, all seems ok at this point so it is game on. I ordered the proper bolts and other items from McMaster & Carr to finish assembly. The mounting bar was redesigned from the print so it would work on my tool post, nothing more than a ¾” x 1” x 2 ½” piece of 1018 with 3/8” x 16 threaded hole. I added a 3/16” dowel pin between the rear portions of the scissor just to keep it from spinning around when attached on the tool post.

Test assembly

All parts for completed project

Finished project

Finished project
Well I tested this new rig, it seems to work just fine but I am still having some problems with the knurls. When ordering parts to finish the project I had looked at purchasing new knurls but didn’t, I want to function test first before spending another $50.
All in all it was a learning experience, one that made me more comfortable with cutting steel.
Thanks for looking……..
January 2016……..
I purchased a set of knurls, really cannot remember what brand but they are but they are finer than the cheap China ones! I have experimented off and on knurling different items over the past couple years so I decided to update with a pic of my last project. Not much but but this is something I have been going to make since I got my mill but never found the time.
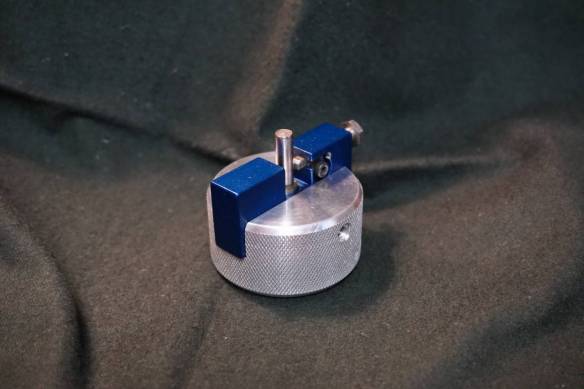
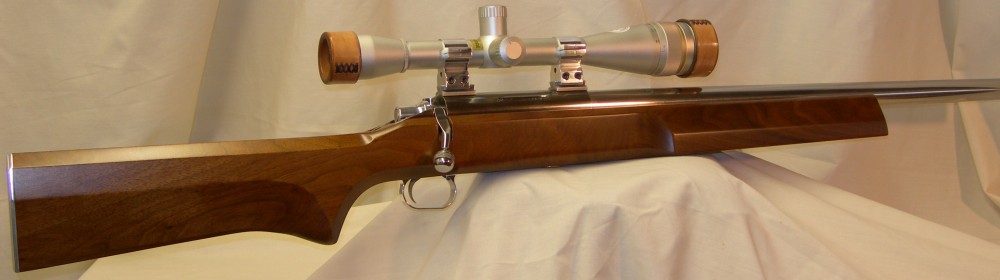
I guess that the older one gets the more ergo things need to be so for my K&M and my Marquart neck turners I made this enlarged handle ….. If I am asked why I didn’t make it larger, well, there is a limit on how large it can be and still be comfortable, for me the 2 1/8” diameter is just perfect. (along with the fact that I have an abundance of drops in this size) This size fits my hands and doesn’t make it cumbersome to work with and after all that is the object… right. The other reason is this knurling tool will not span anything larger, oh well I really do not need to knurl anything larger, this seems to be adequate for my needs and keeps the side load pressure off my headstock, that is not good for a SB lathe.
The next project will probably end up being a home anodizing kit, this raw aluminum and oil/ fluids just doesn’t cut it.
Thanks for looking.
