Dillon RL550B
 Back in the mid 90’s I got the itch to have a progressive press, at the time the Dillon had the interchangeable tool heads which would fit my needs or should I say wants nicely. The original idea was to set up a tool head for every caliber I owned and at one point this all came true. After a couple of years I found that my ideas were good in theory but not practical for my needs. The press, all the tool heads and powder measures sat on the bench taking up valuable space while my Rockchucker did most of the work. At the time my interests were in rifle calibers and not pistol so when it came to loading rifle I only used it as a single stage press and found it was easier to work with my Rockchucker than the progressive. In or around 2000 I pulled all the stuff off the bench, packed it in boxes and stored it, I have to admit contemplating selling the whole thing several times but figured I would be my loss so I didn’t. Now, 10-12 years later my interest have changed some where I am back shooting pistol and want a chore to load on a single stage press so there was a Dillon resurrection. Time hasn’t changed my space issue either, today the space is even more valuable so rather than mount it permanently as I originally did I looked at the strong mount that Dillon now offers. Here is where I get cheep, seeing that by the time I get the strong mount shipped to the house I would spend around $75, more than I really want to invest at the time so let’s build one. I looked at several options, aluminum, steel, wood or a combination of wood and metal and in the end it was easier and quicker for me to build out of wood. So in the following pictures will go from raw materials to the finished project………
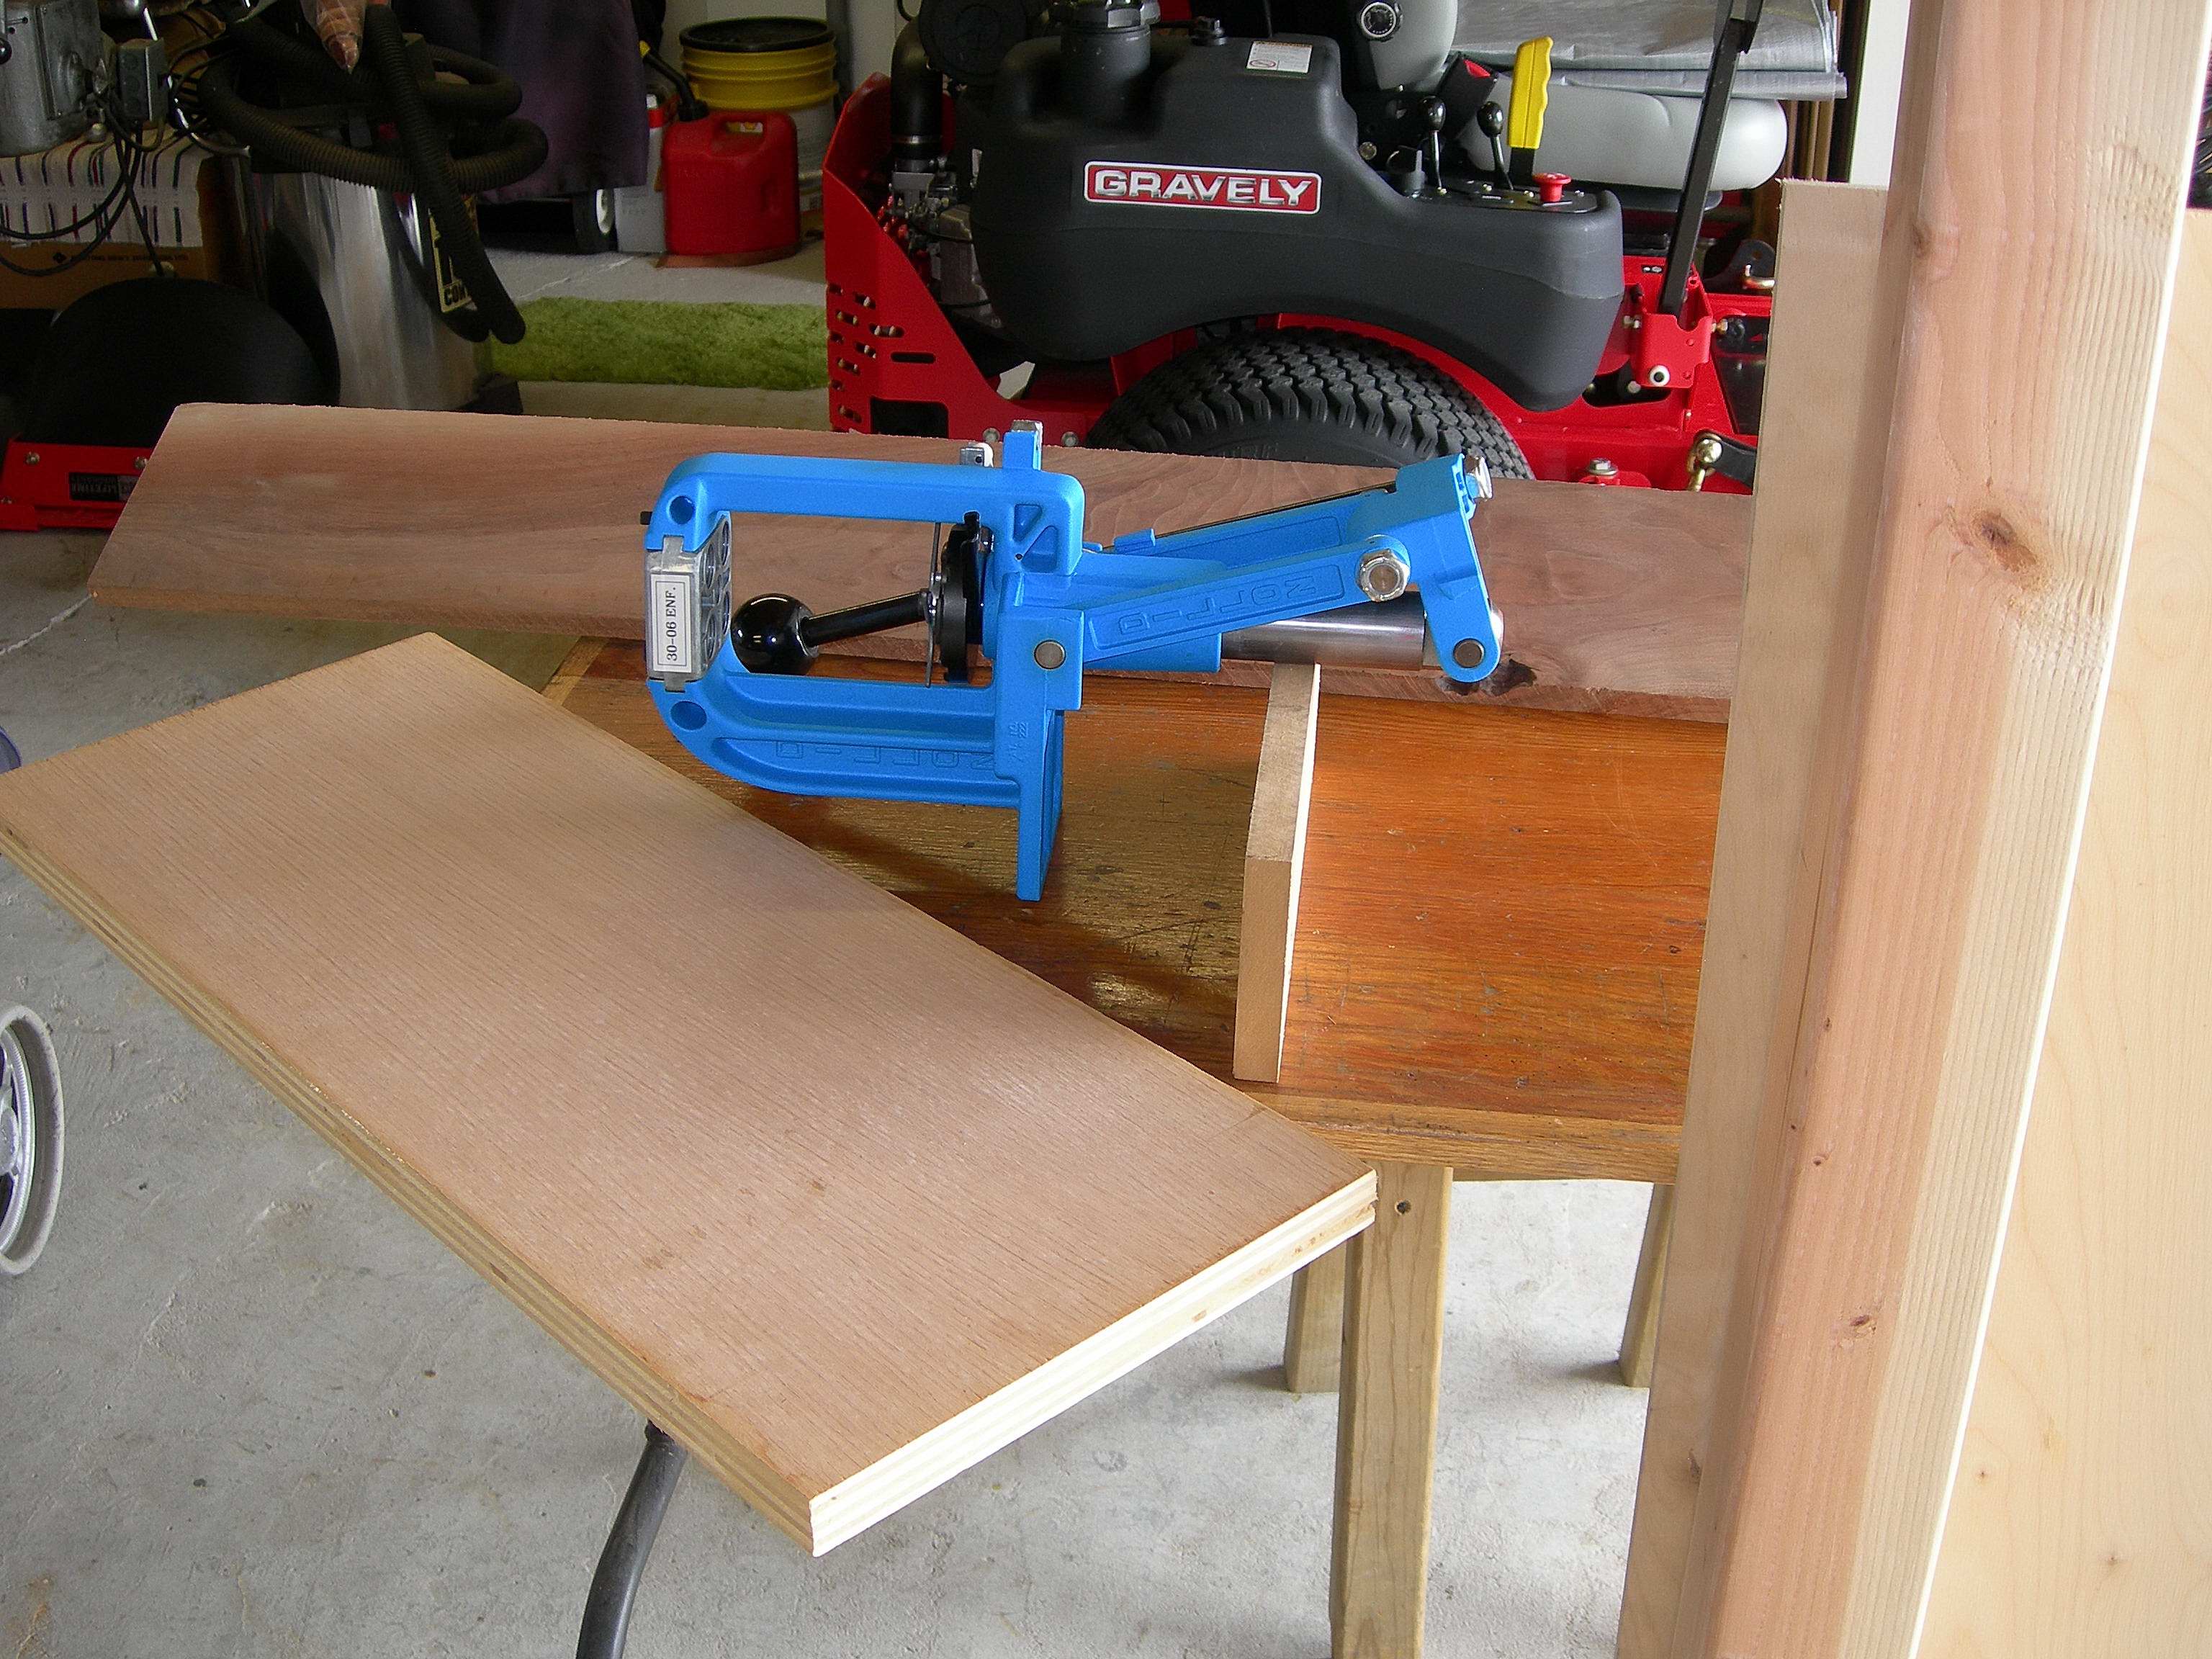
Measuring and cutting of legs along with the top then checking the angles to make sure everything clears along with the ram in both positions. The main object is to end up with something that is not on a massive scale, this is where the mount that Dillon offers excels in.
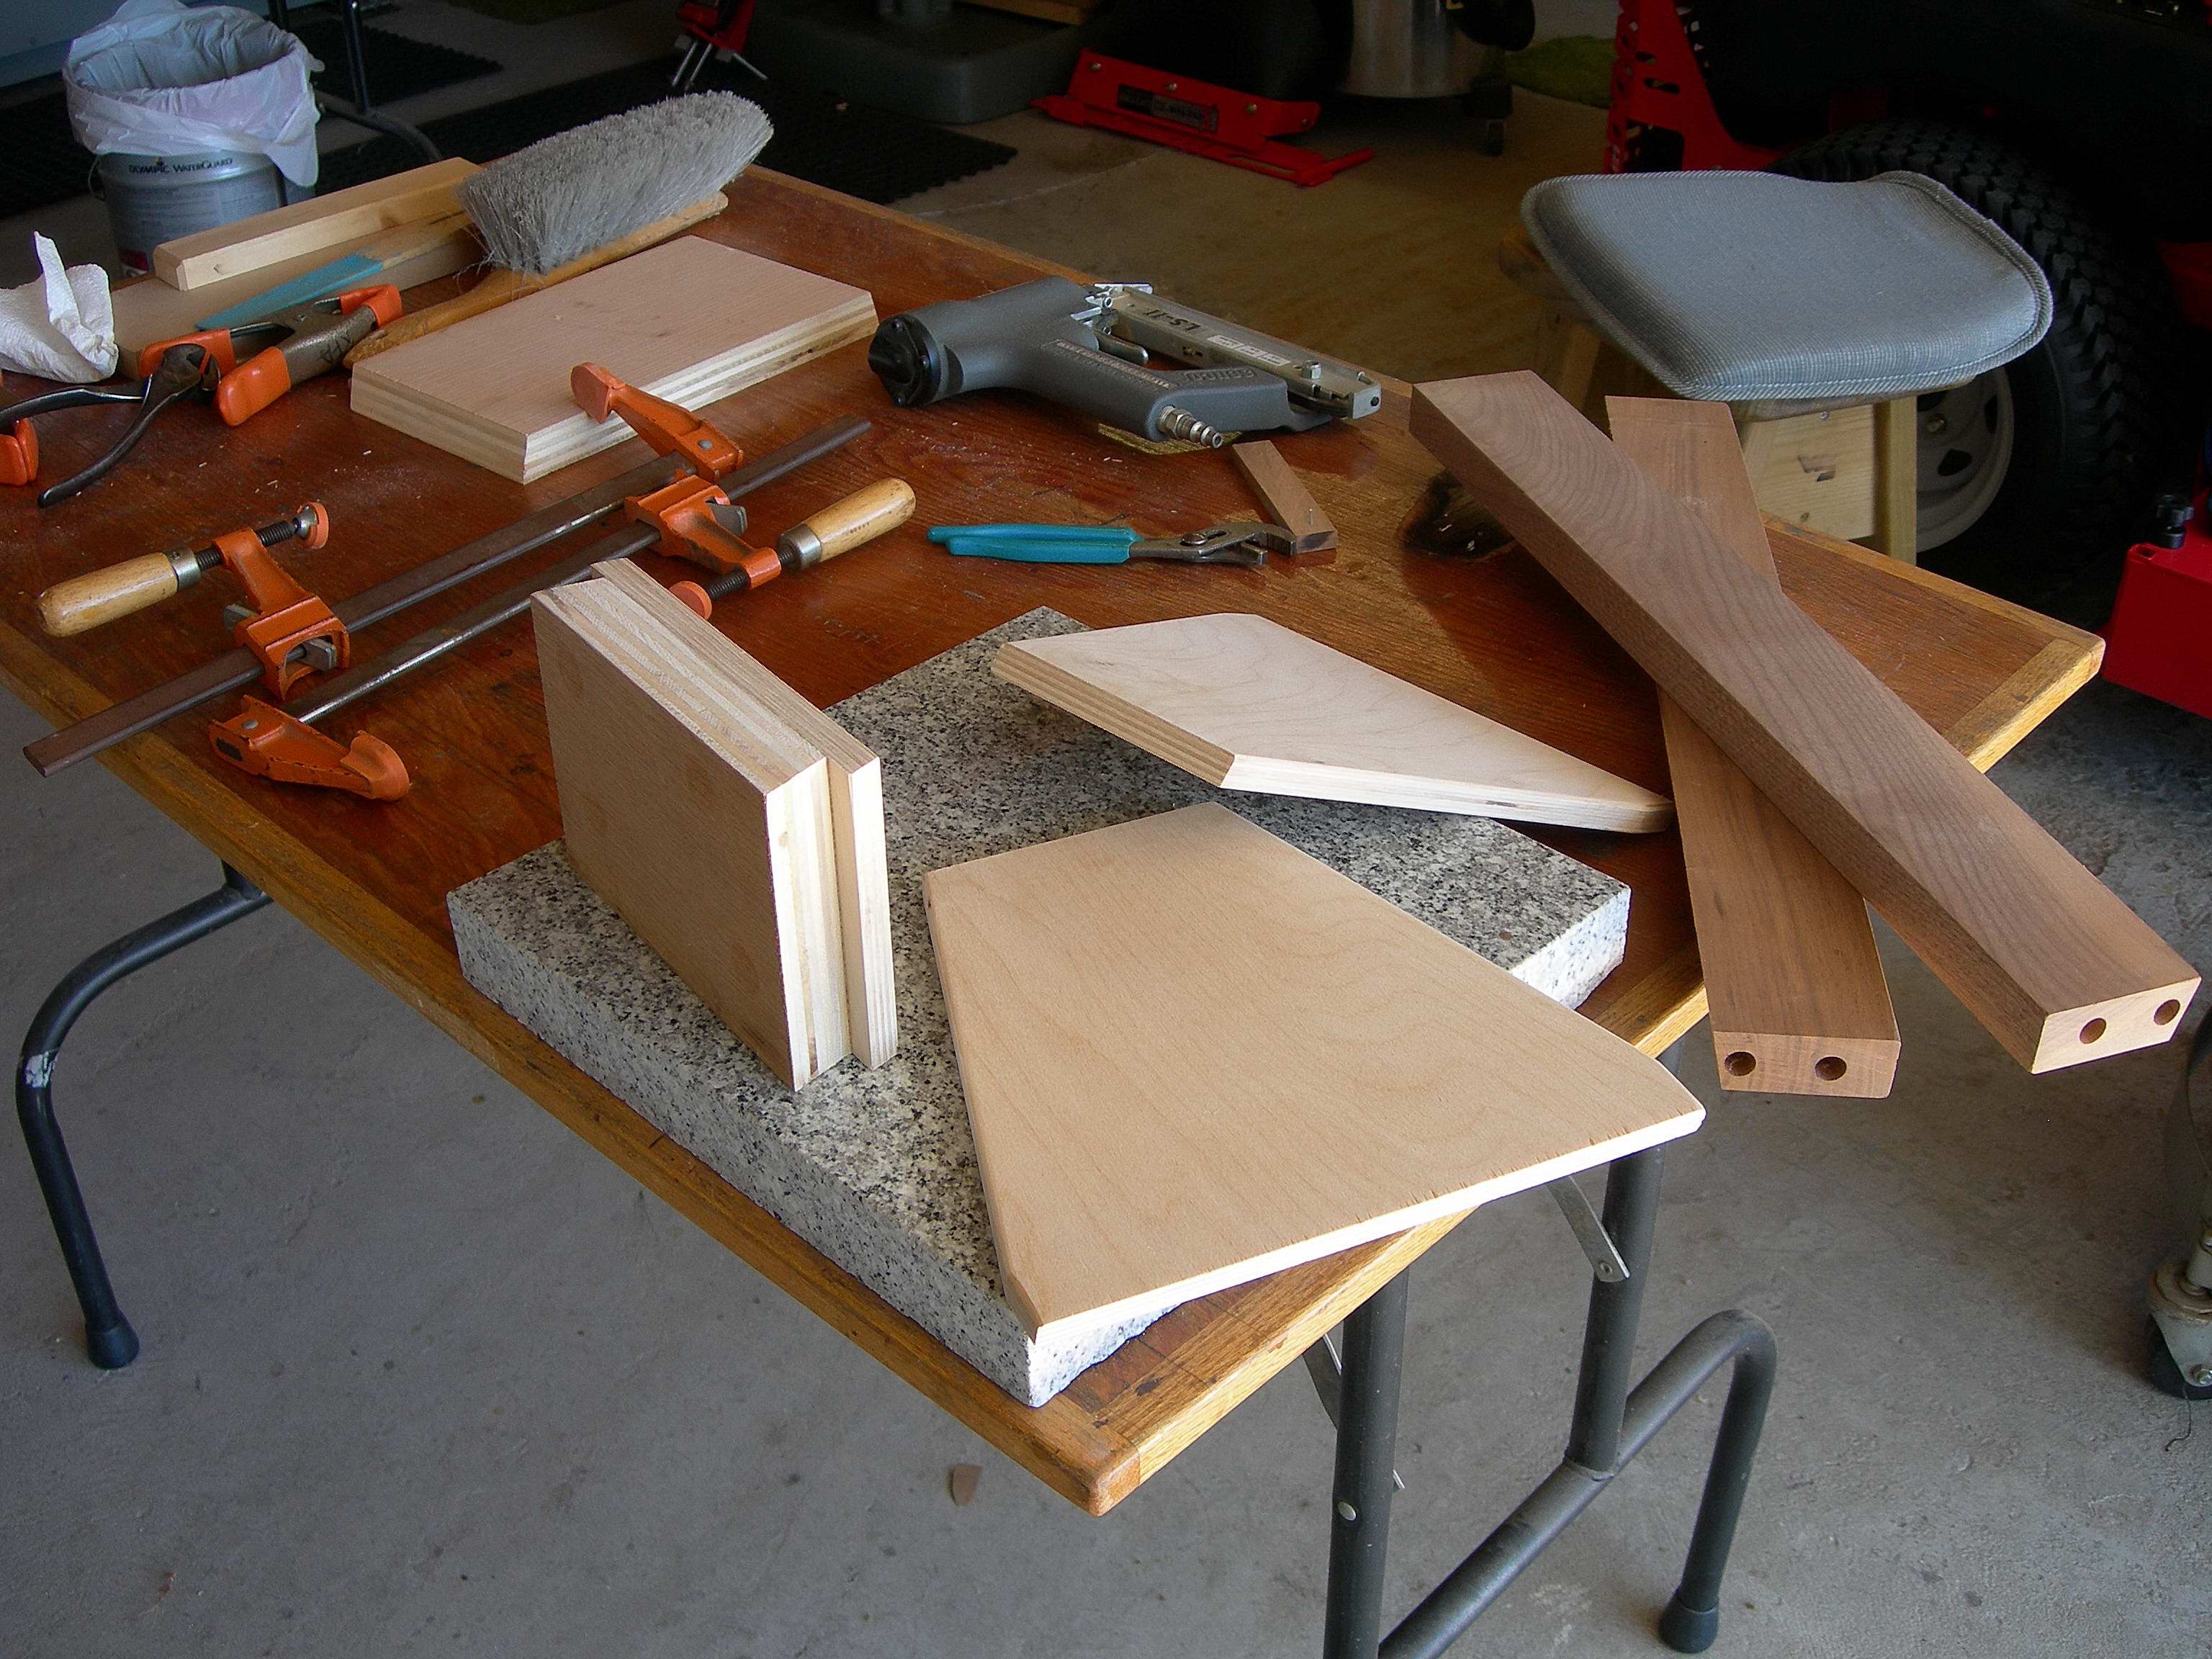
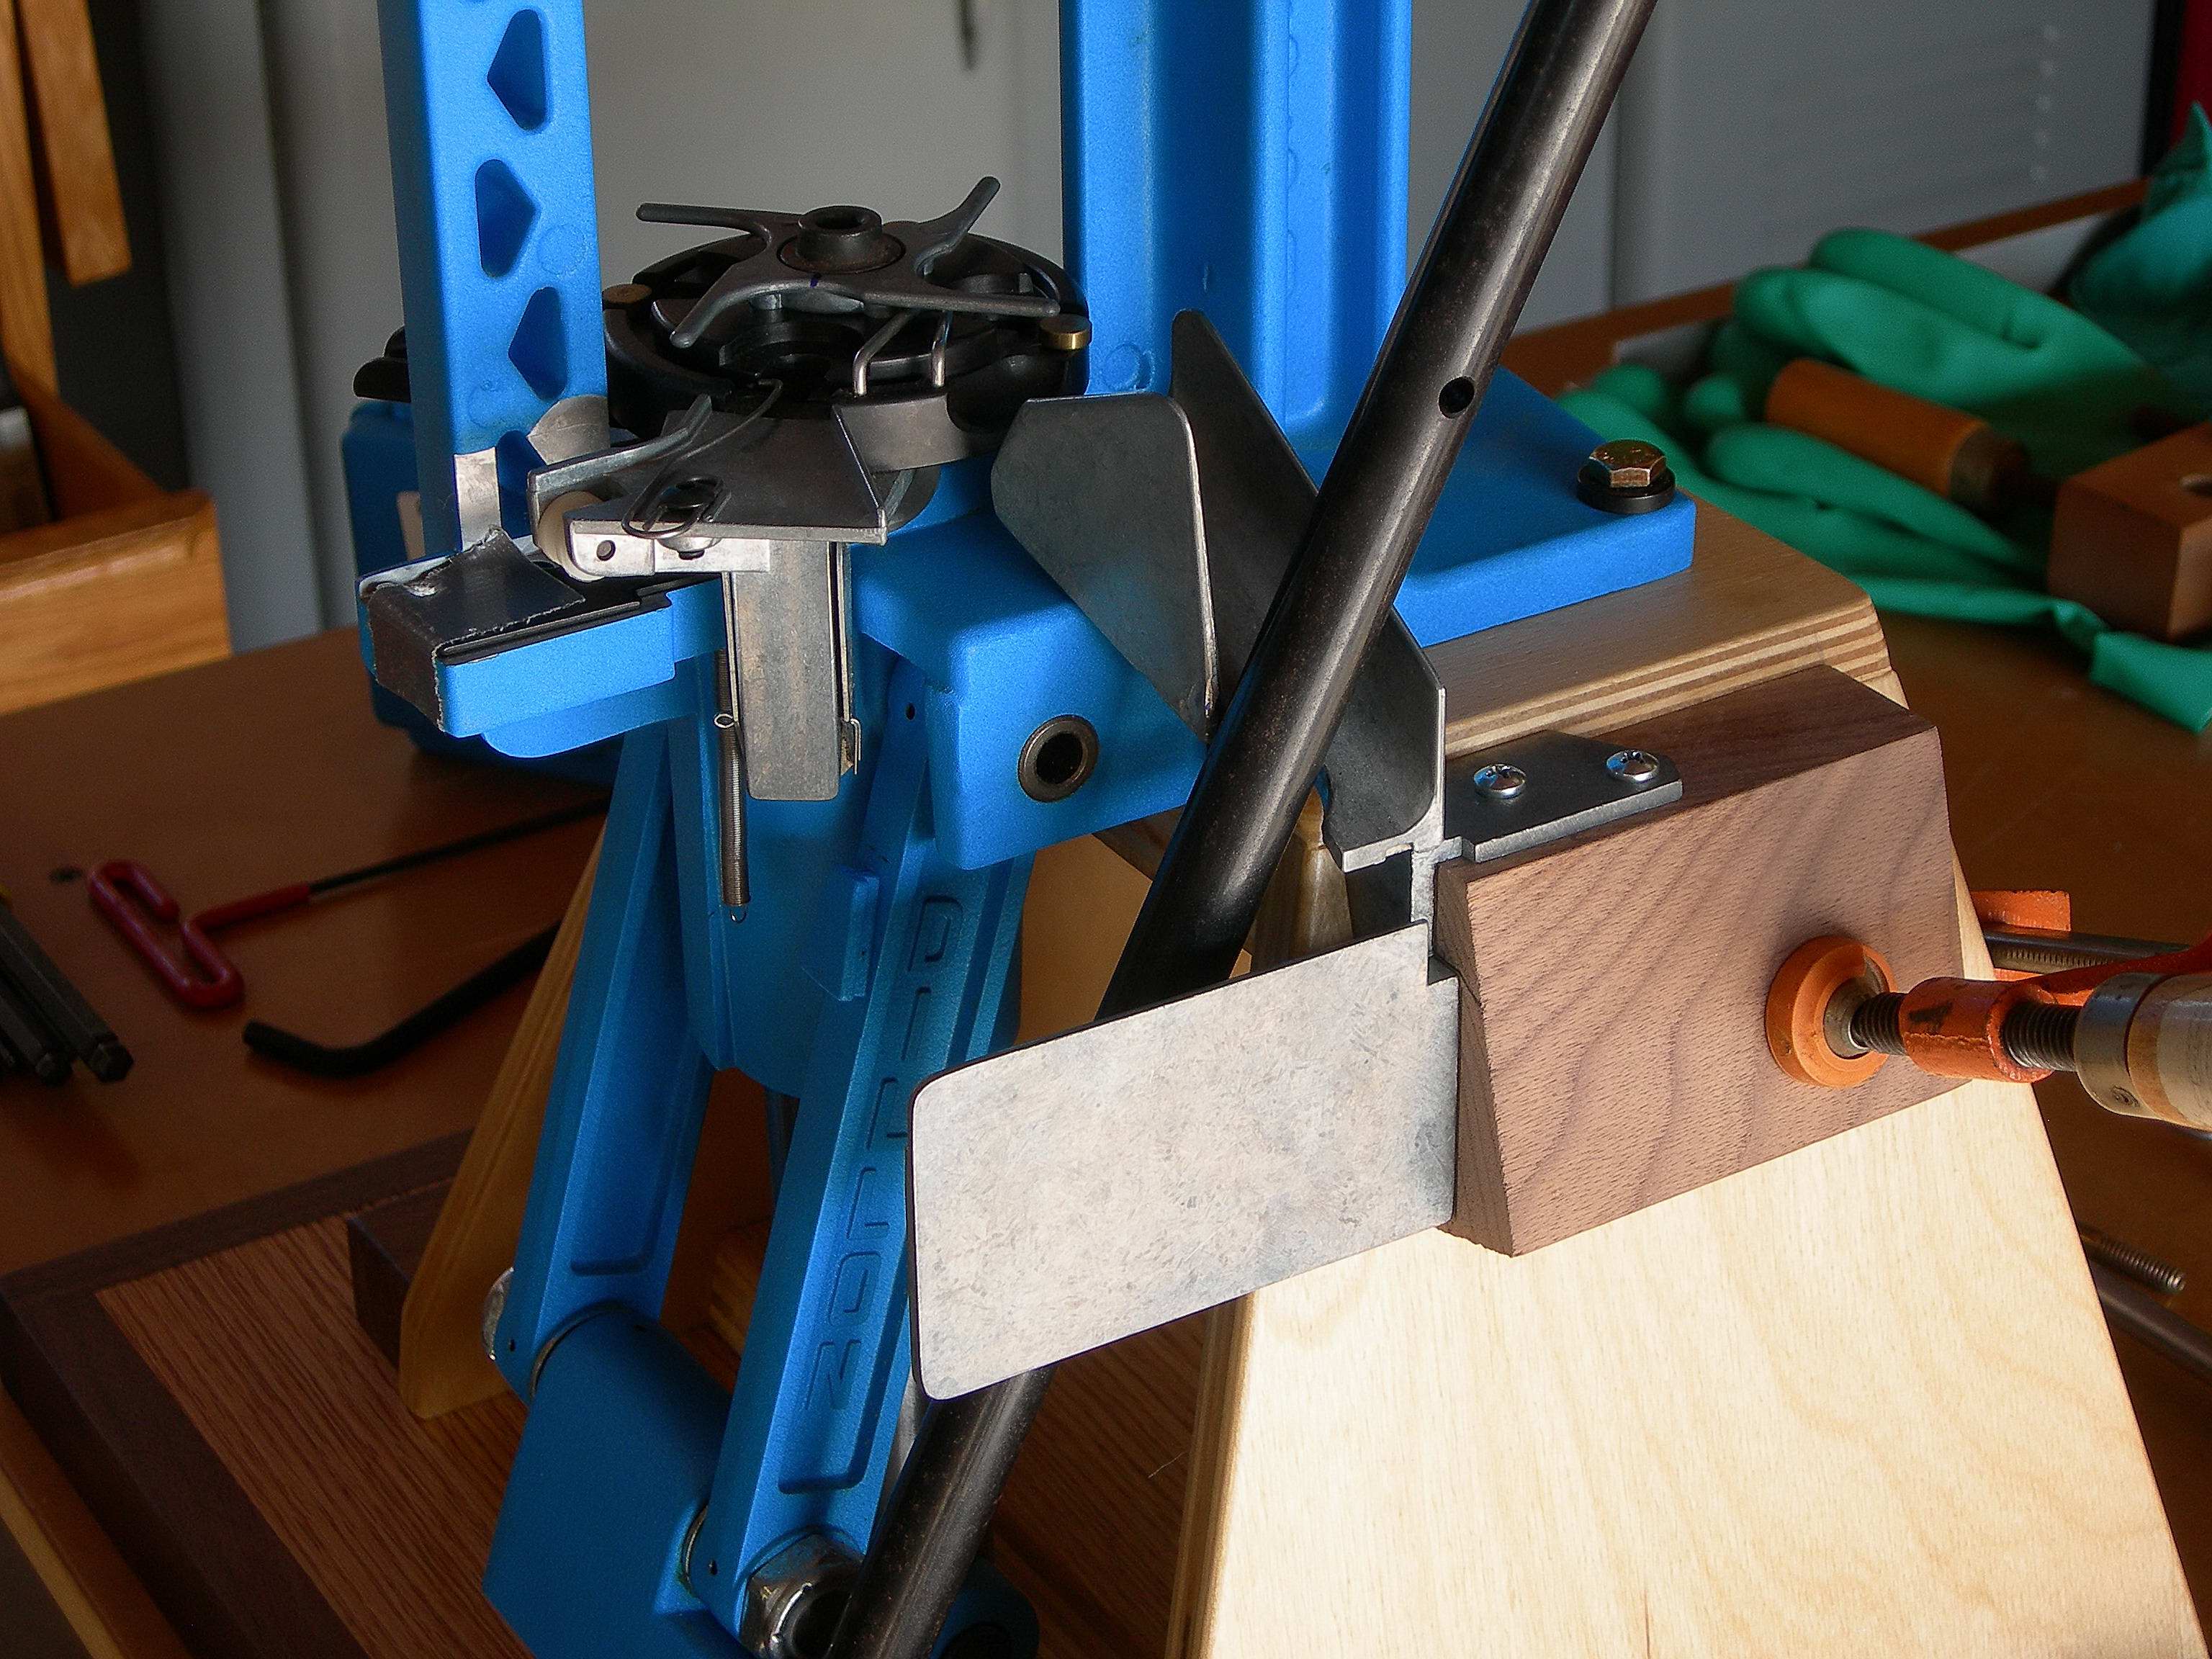
Test fit before gluing
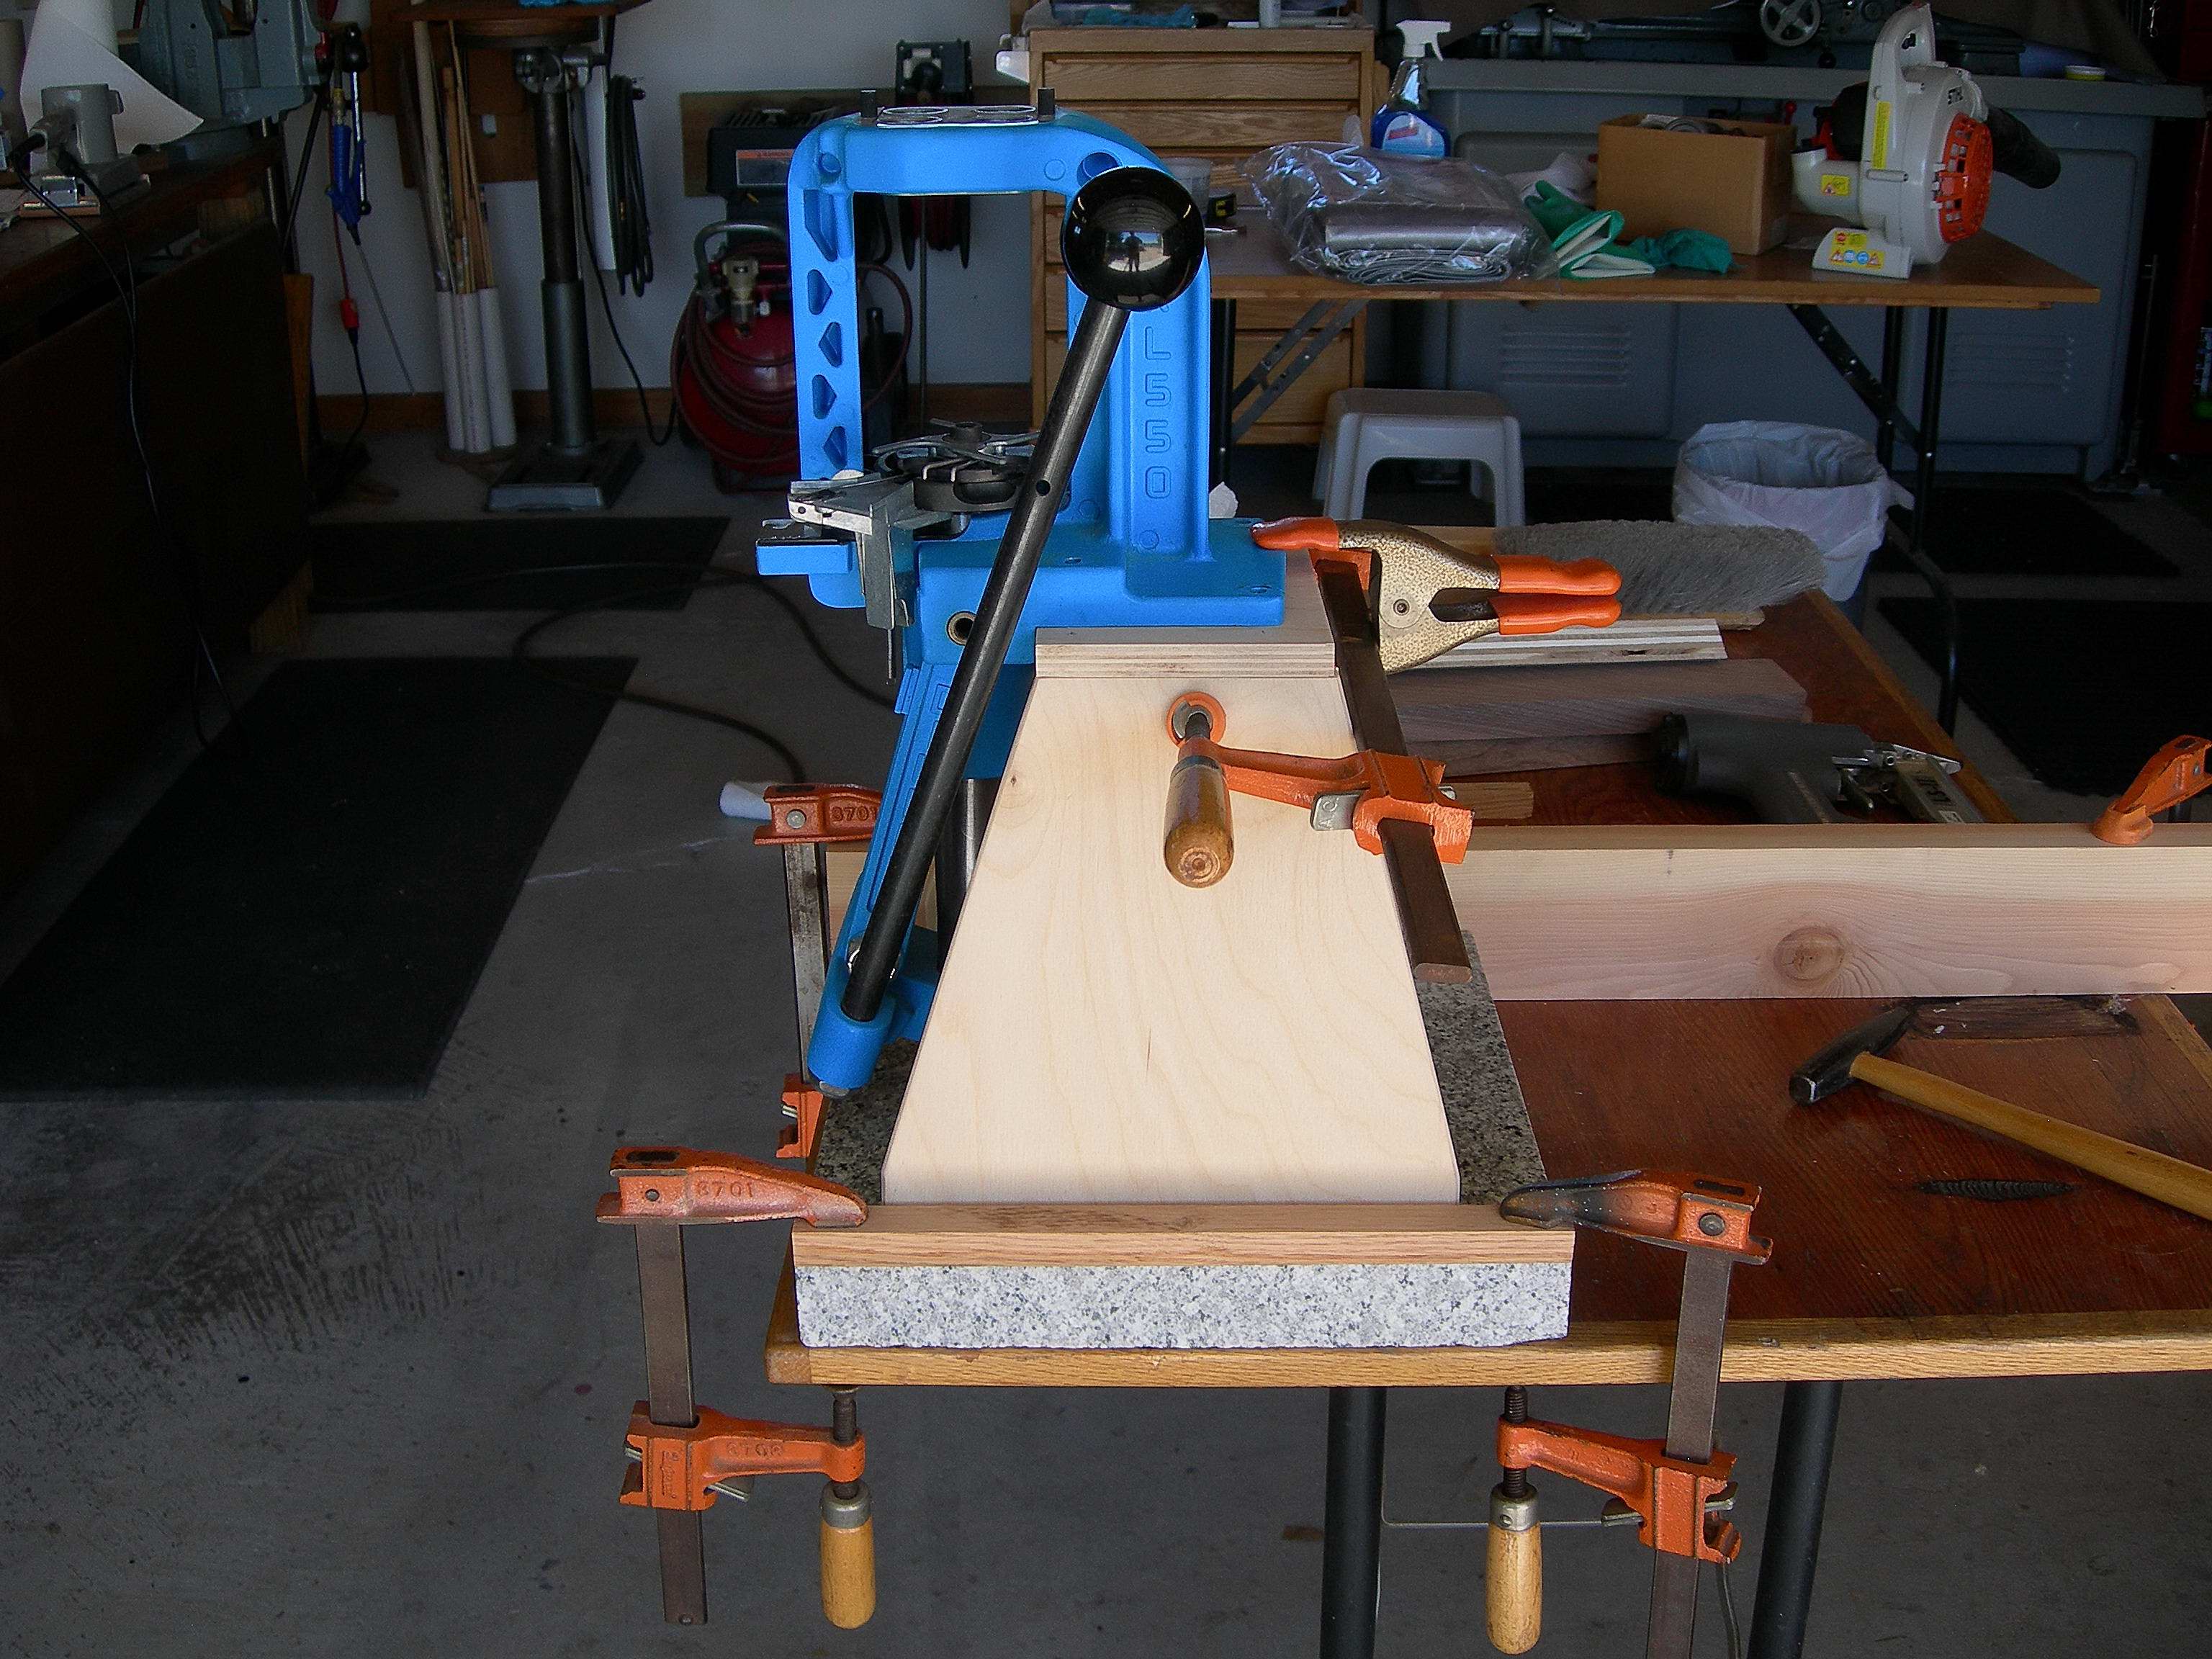
Test fit before gluing and refining clearances
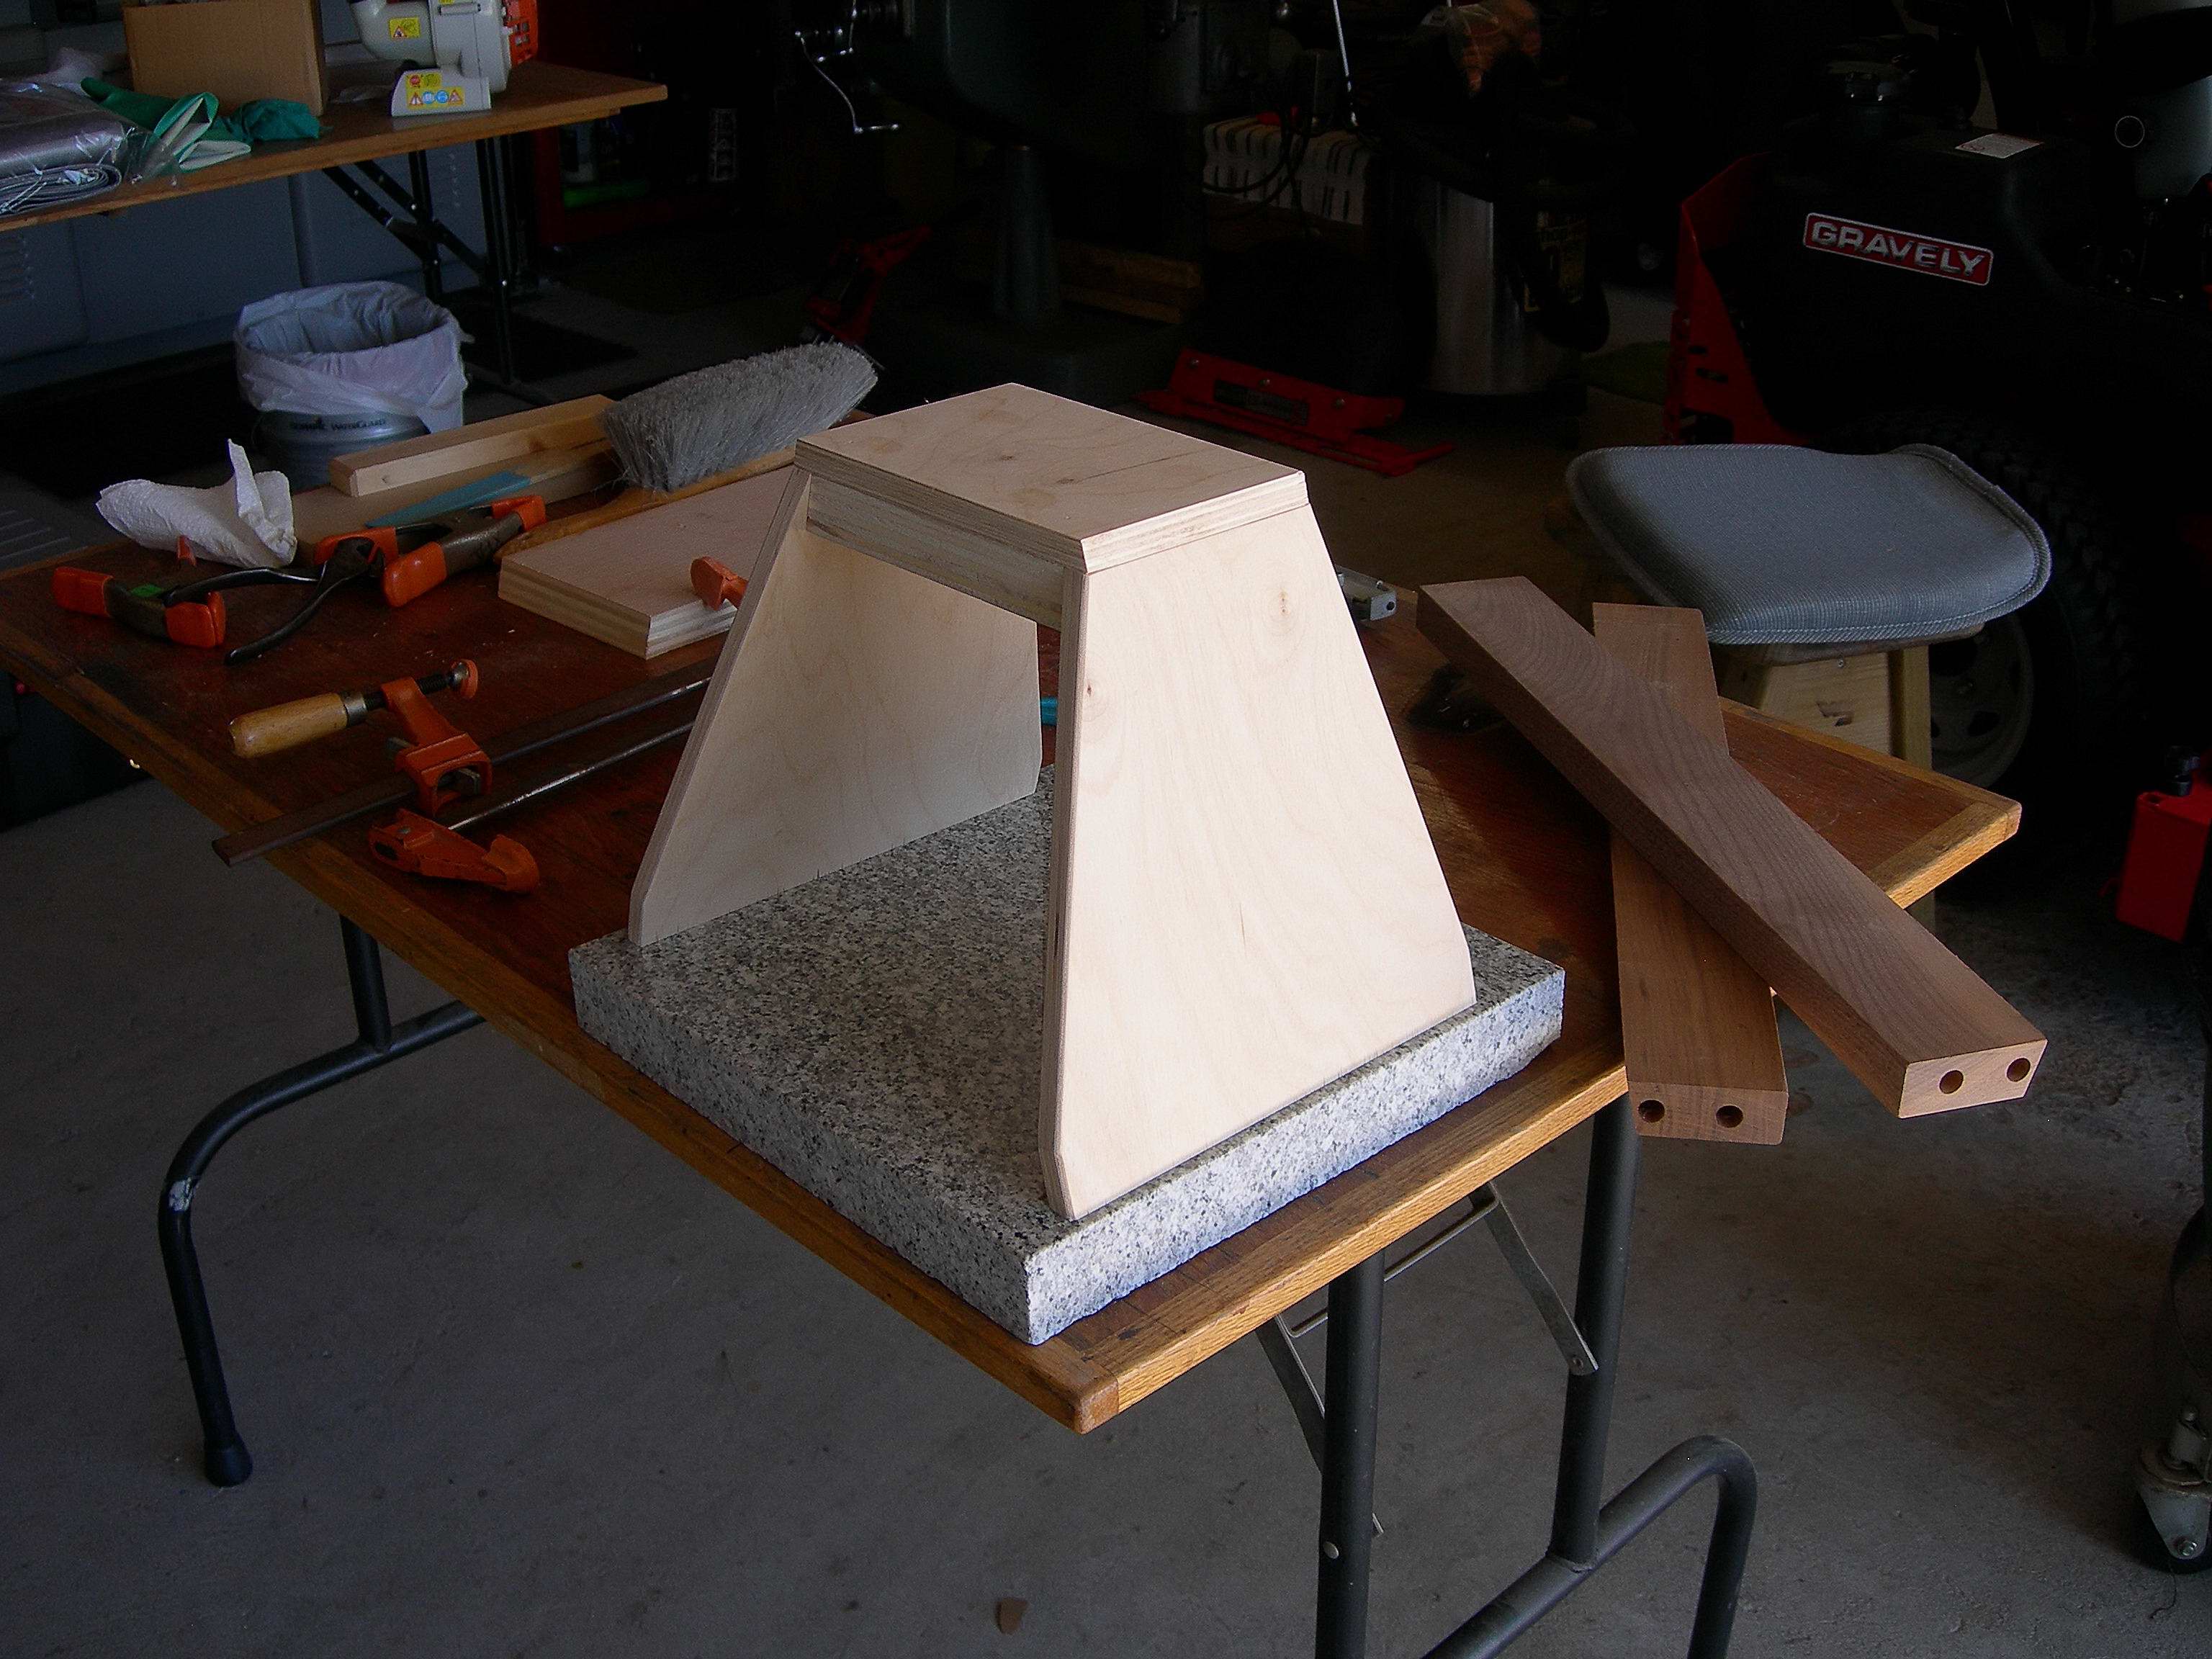
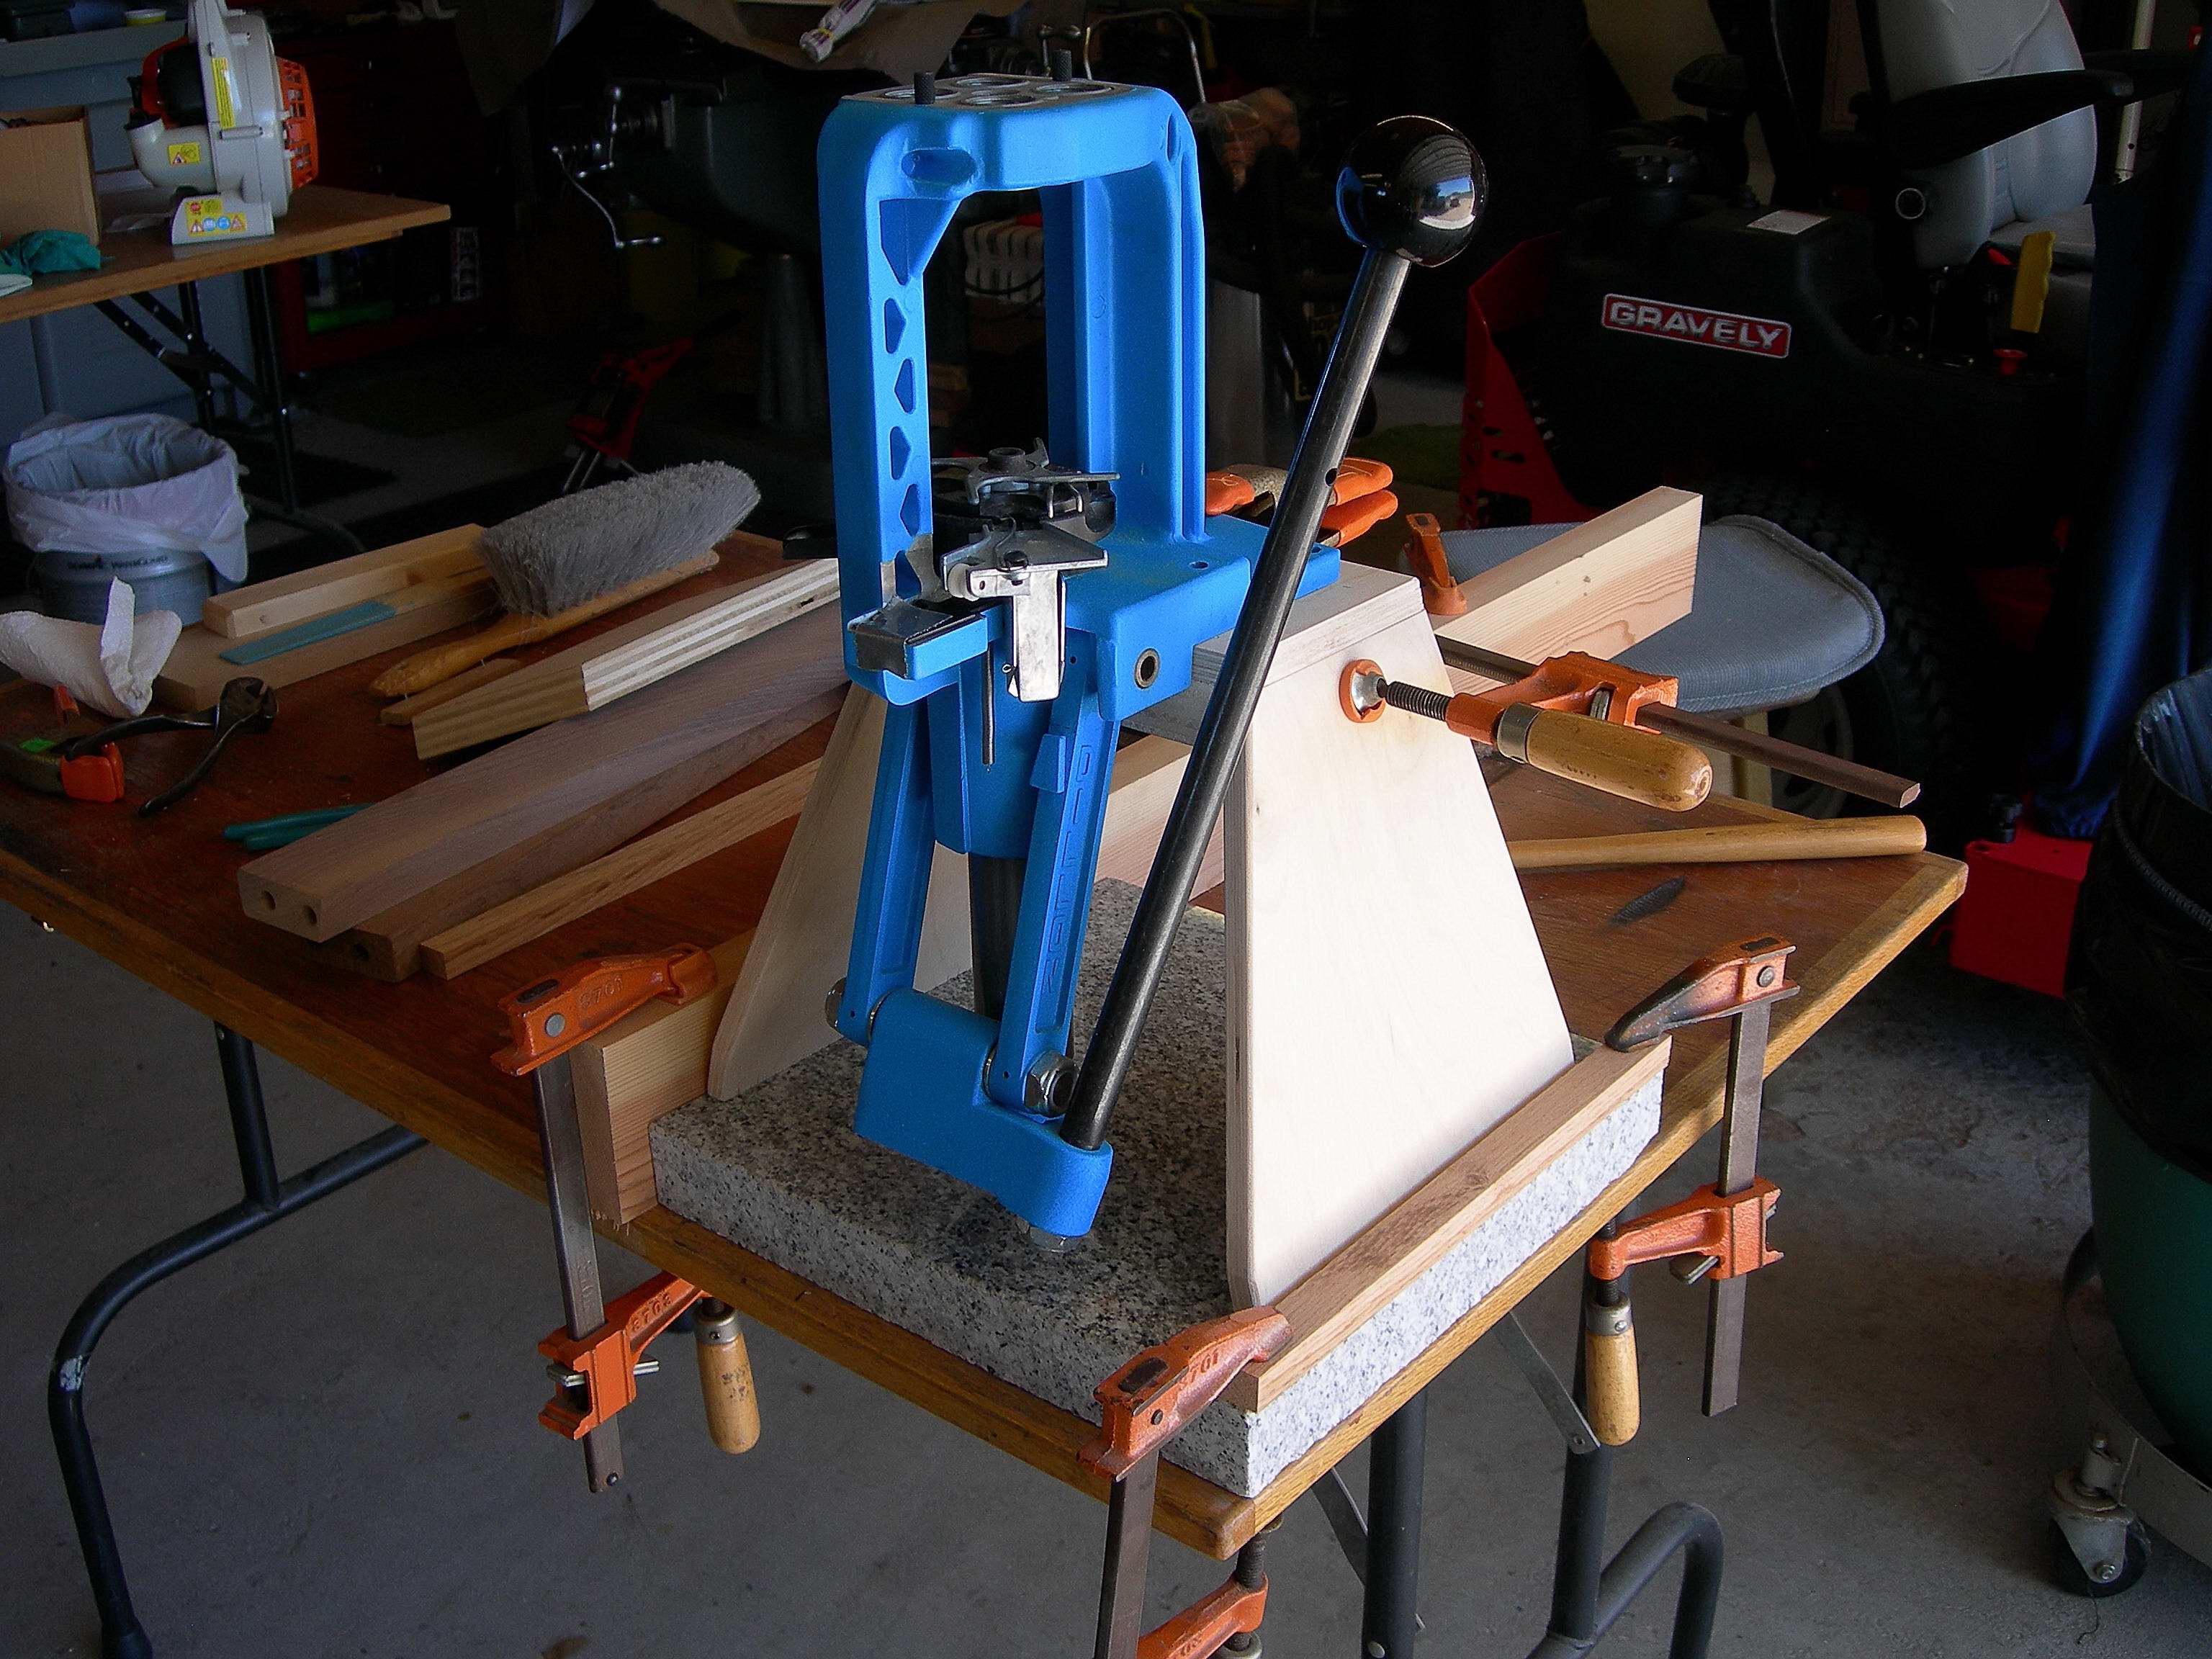
Supports and top glued up
The material list reads as:
½ inch Baltic Birch Plywood
Top and base of the mount is 1 inch Oak Plywood
Edging and adornments are Black Walnut
¼ inch T-nuts anchor the mount to the base (removable if needed)
Finish is Helmsman’s Spar Urethane

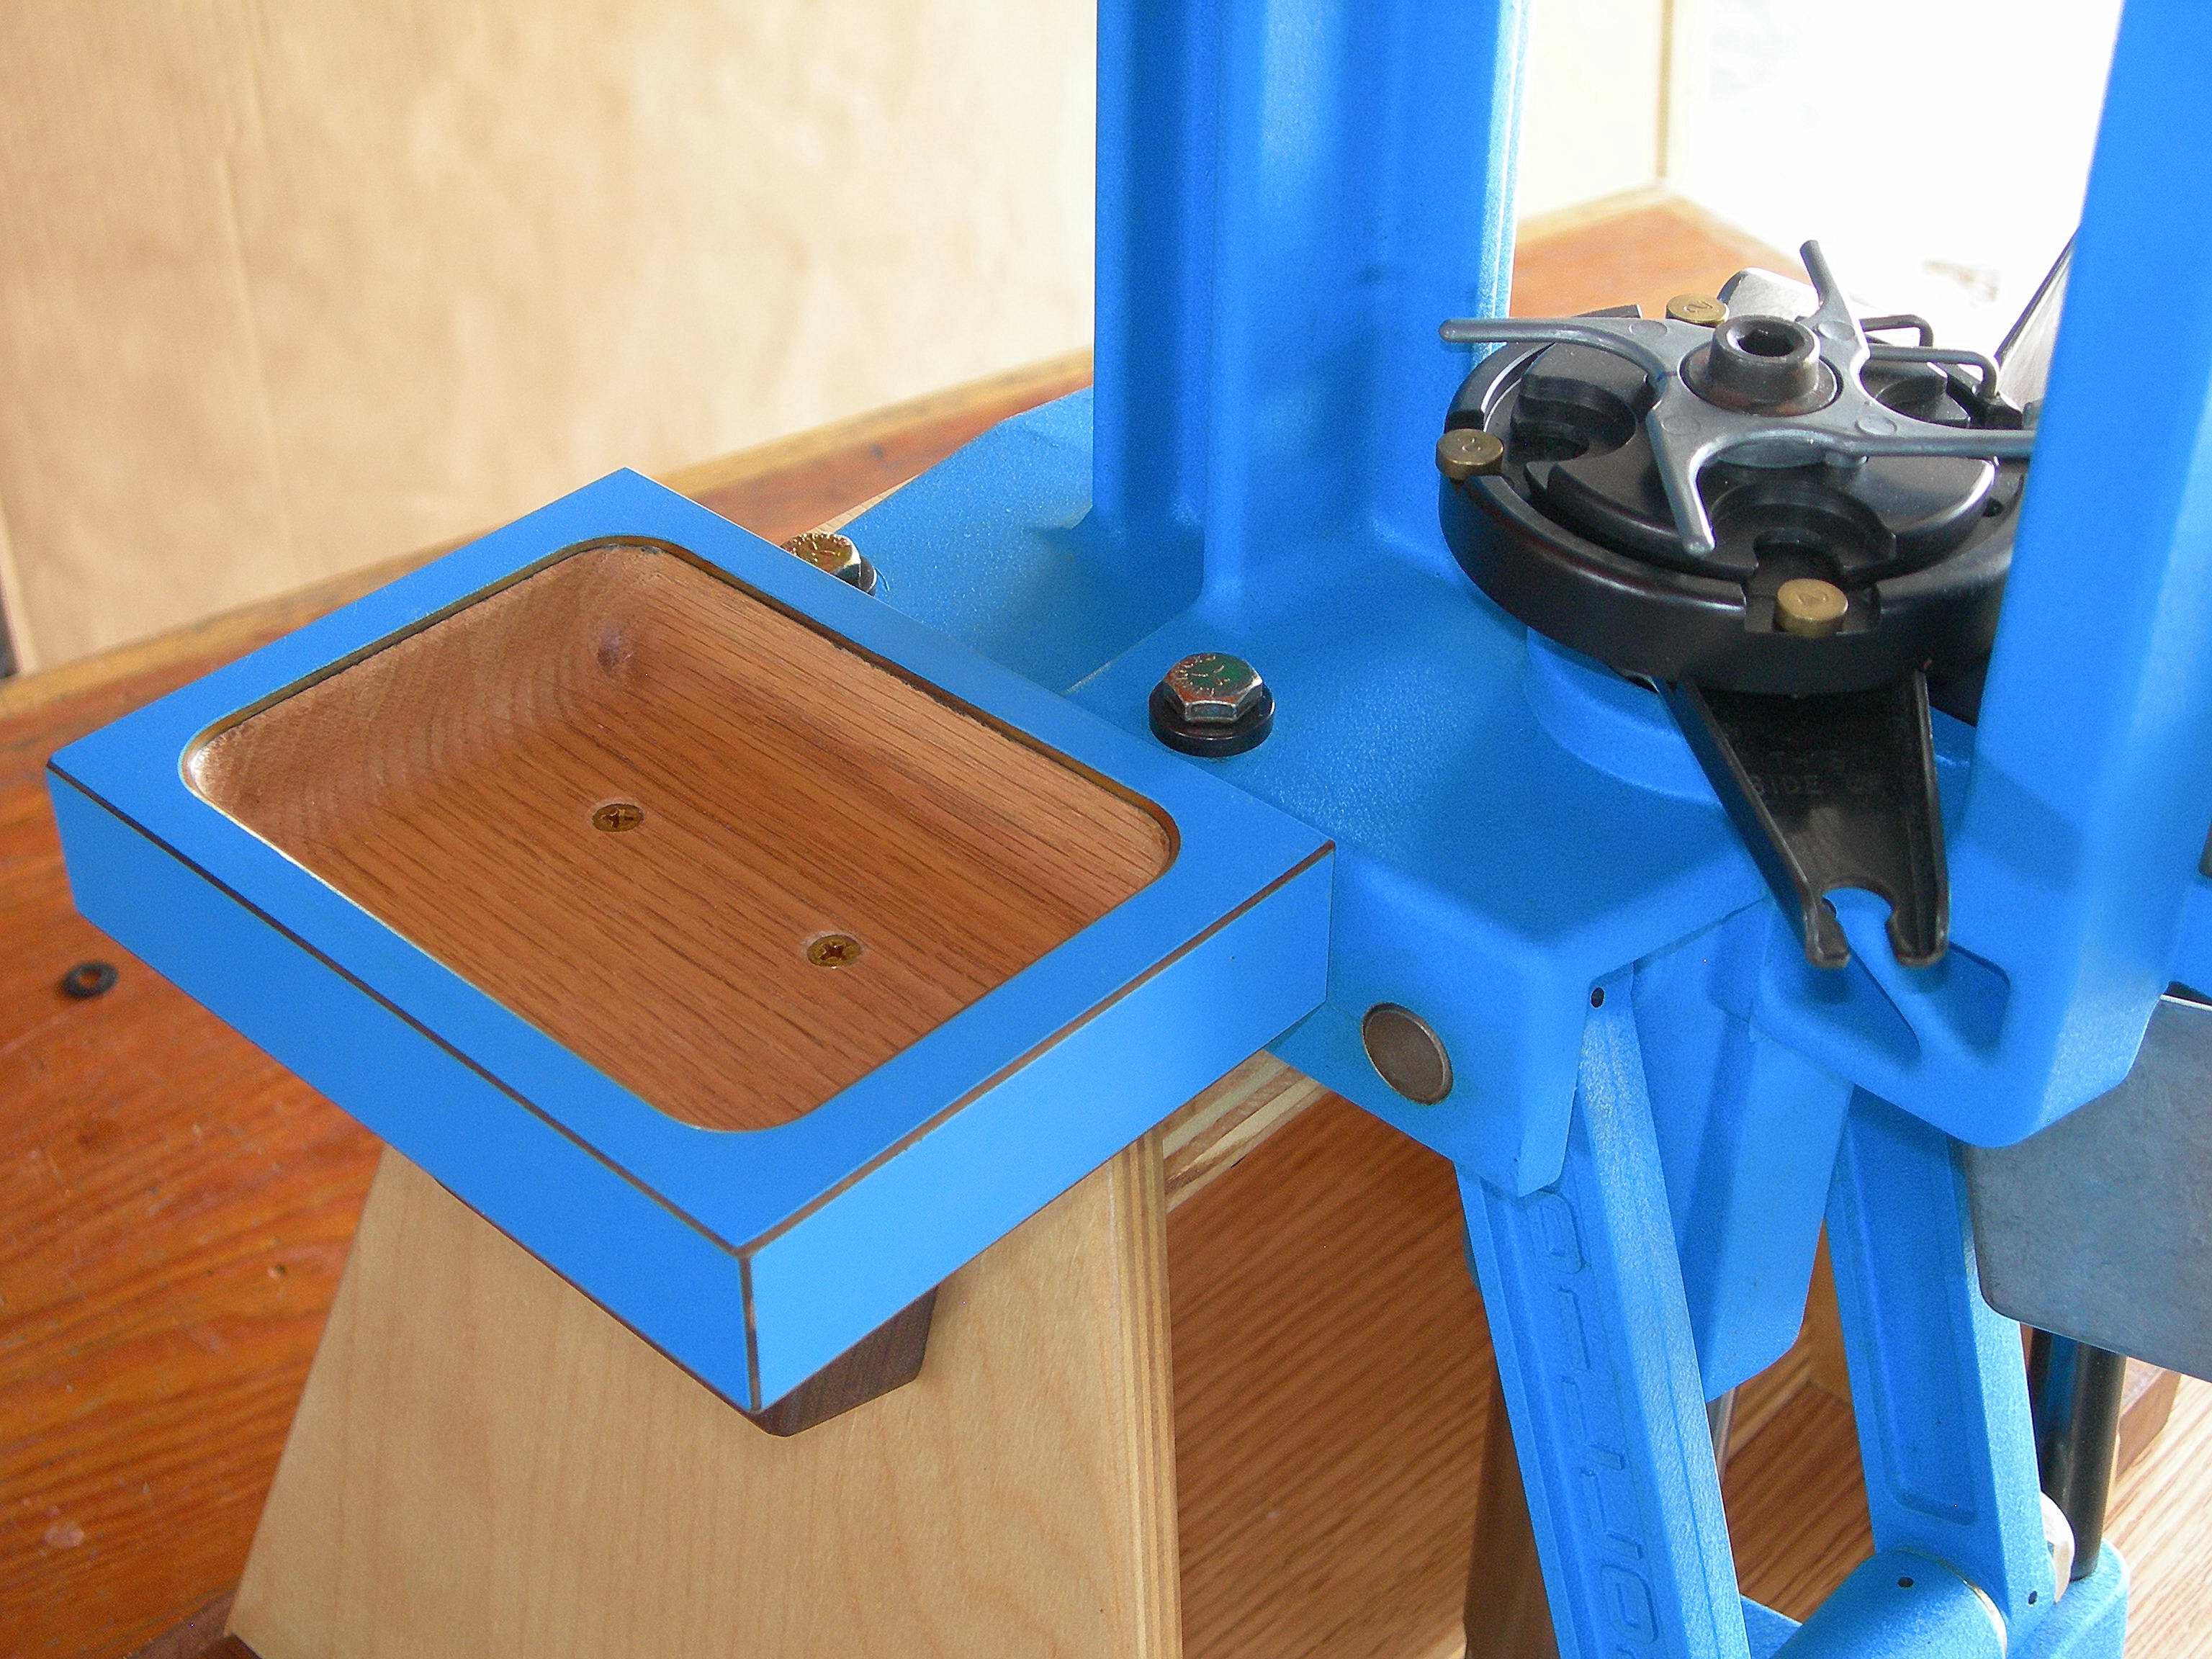
Finished support before attached to base
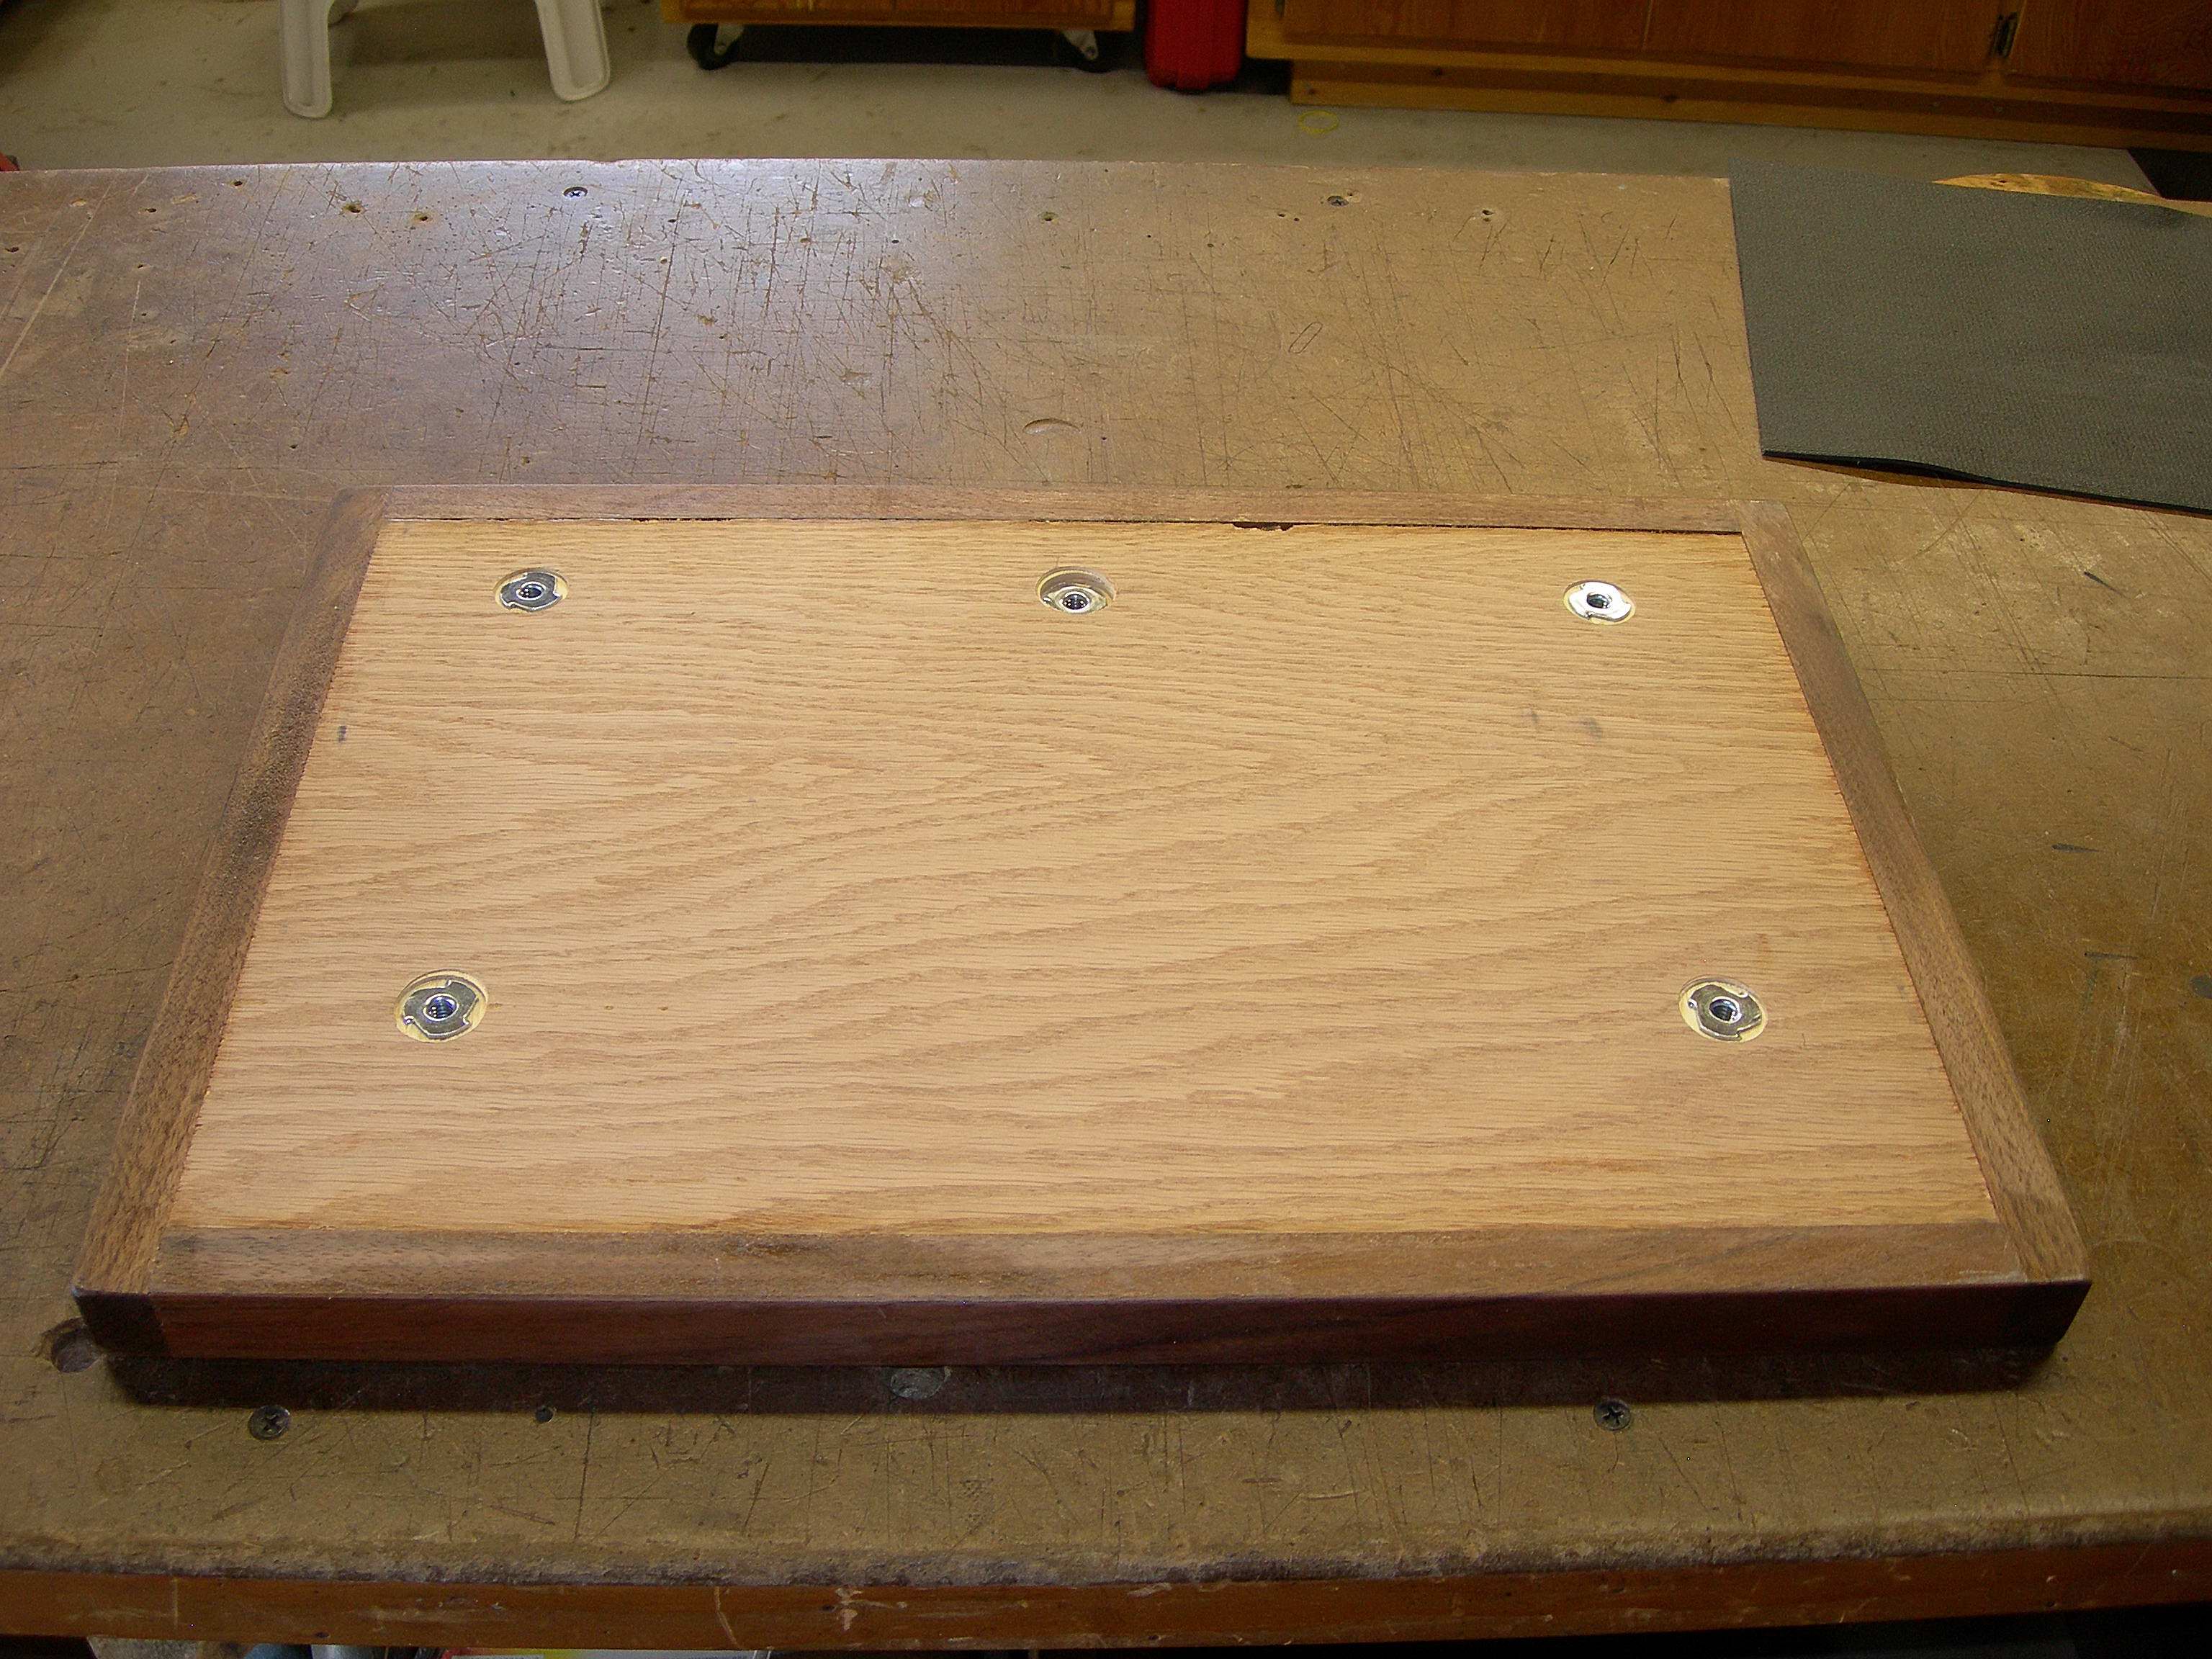
Base w/ T-nuts installed
The base above may look a little rough on he bottom but it doesn’t mater for I’ll cover it with a piece of suede leather as I do all my machine bases, helps them stay in place and not mar the bench surface.
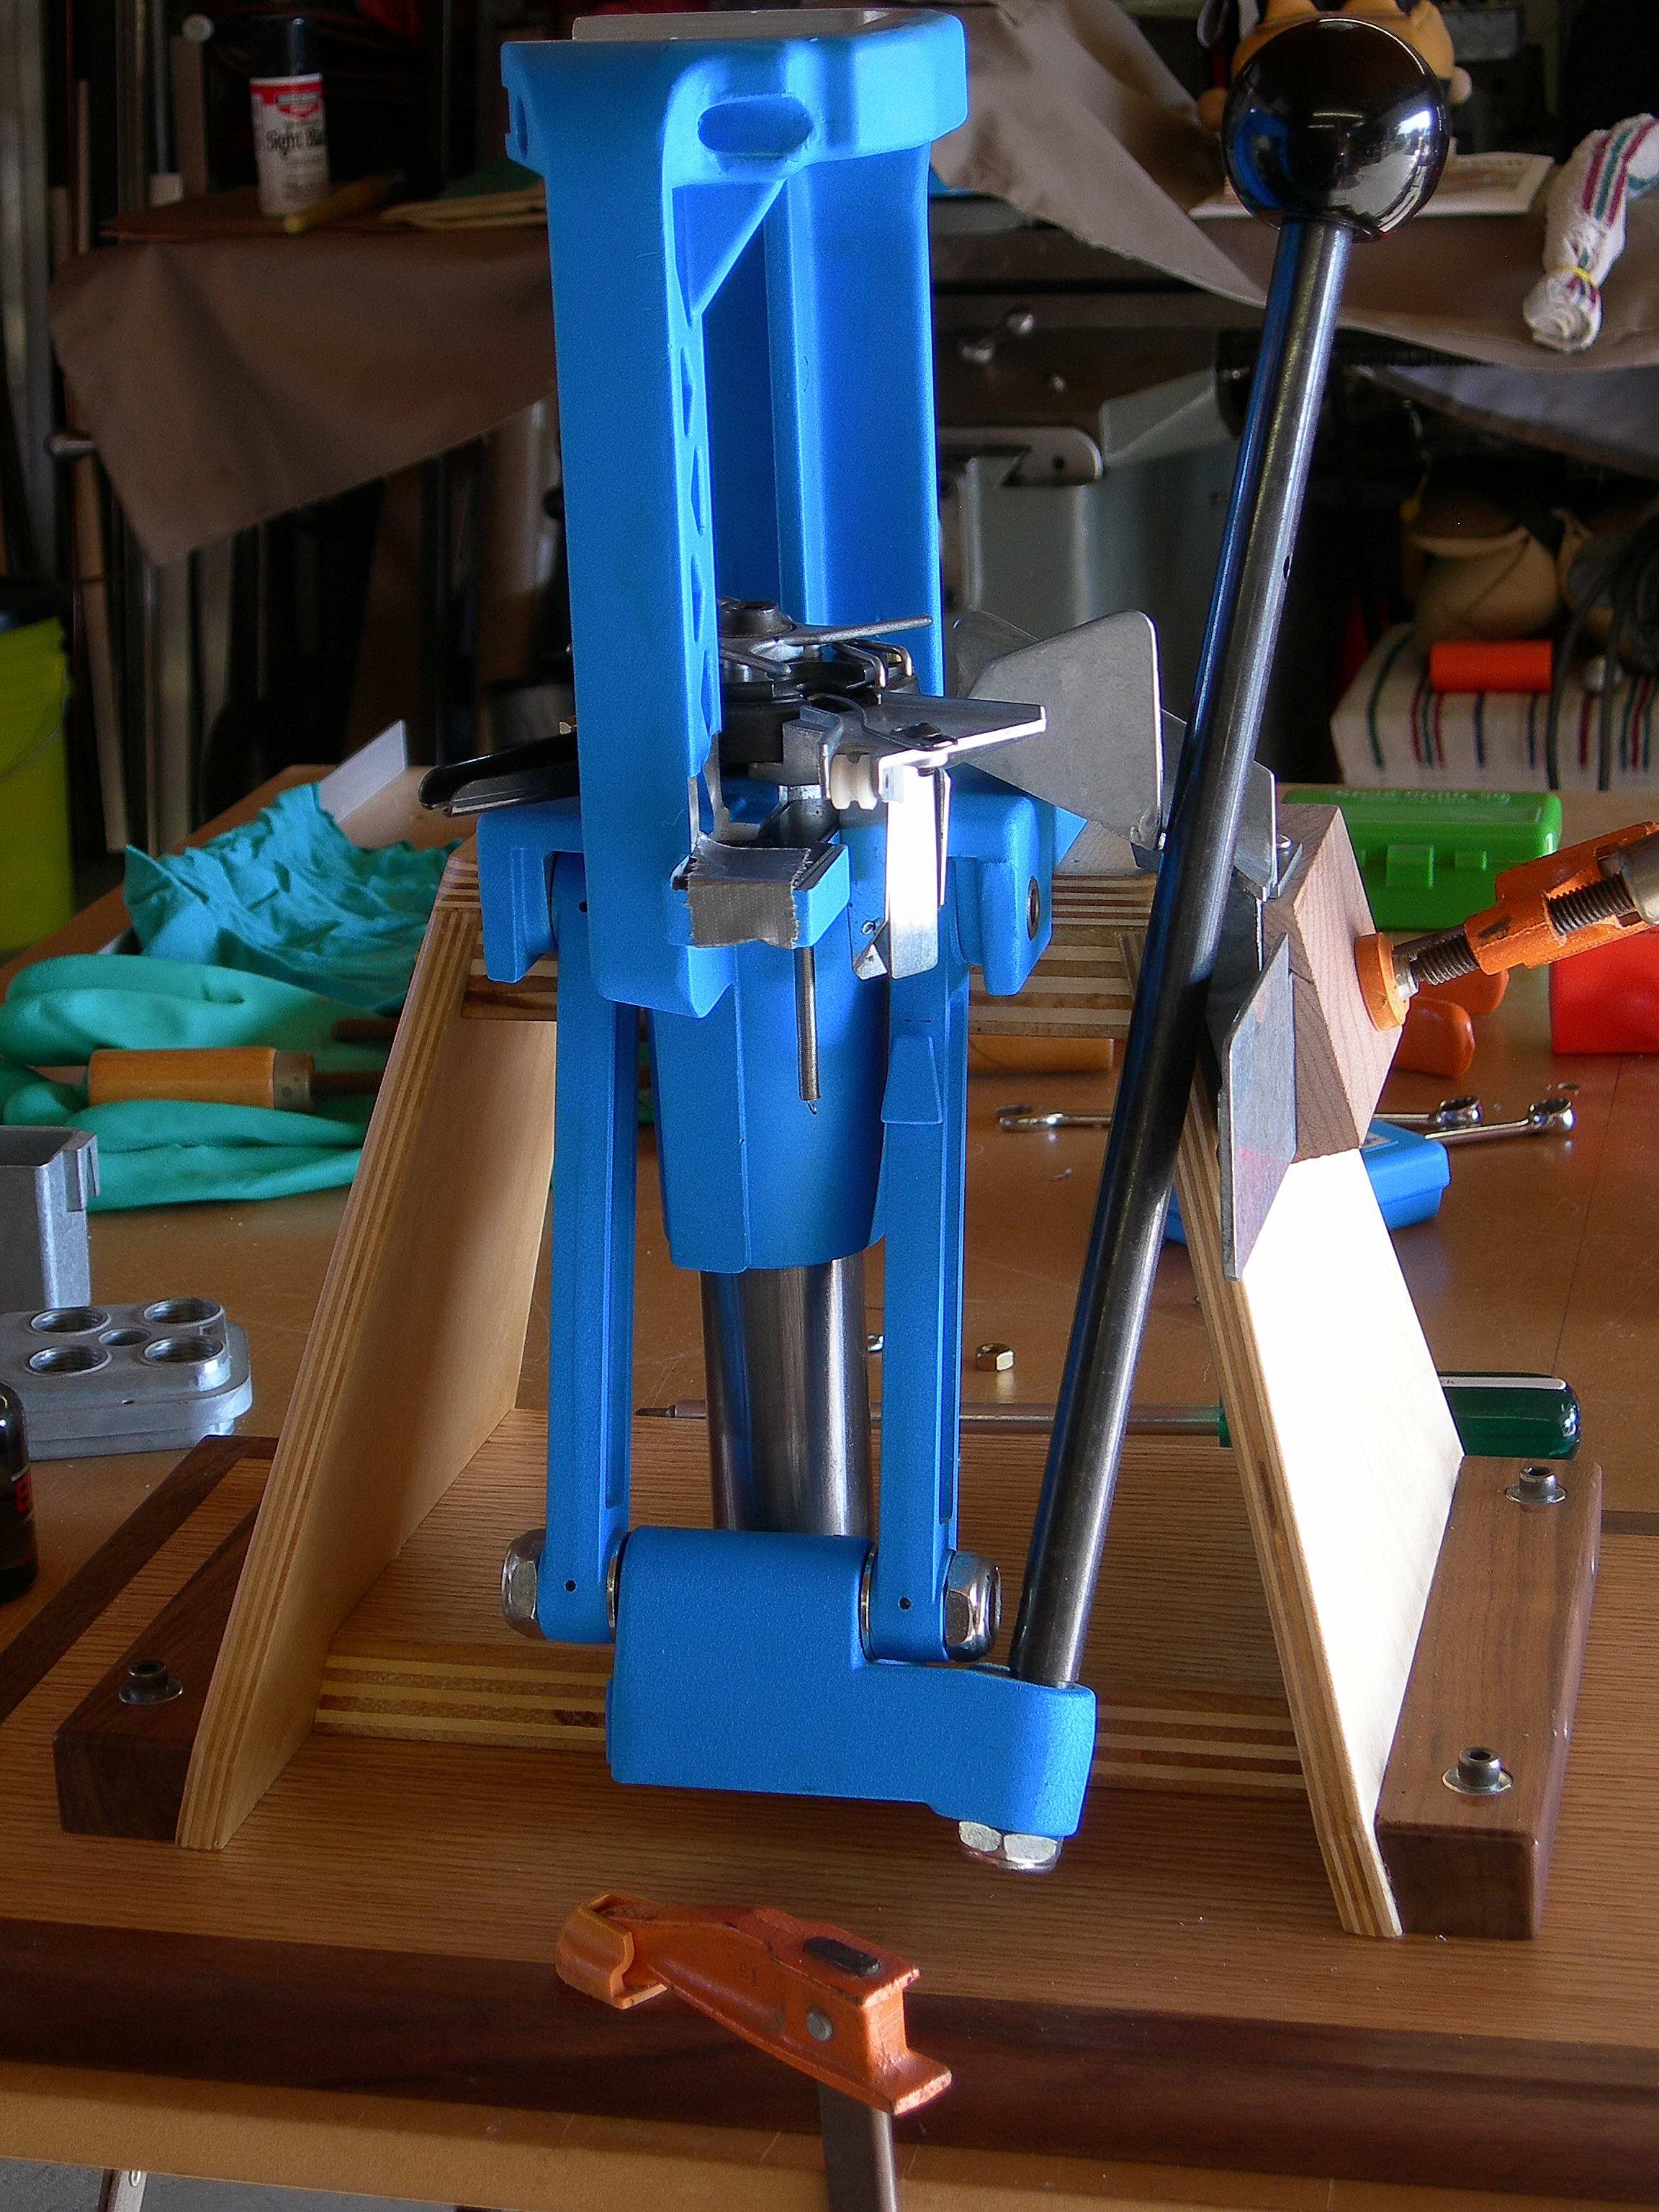
Front view, mount attached to base
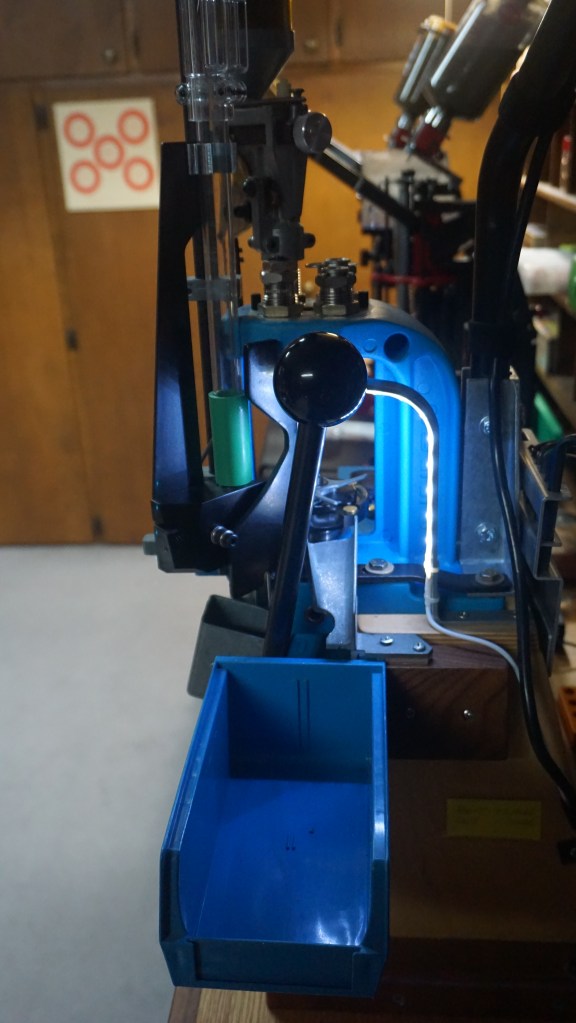
Mounting the bracket for the AkroBin to catch finished rounds.
The bullet tray in this picture was made back in the 90’s when I first installed the press on my bench, I remember digging thru sample plates of Laminate to find a match for Dillon blue, and this laminate has come in handy over the years for it matches many other paint schemes.
Mounted bullet tray
Now as it sits on the left corner of my antique mail sorting bench, one clamp is more than adequate to secure it for loading pistol plus I can now remove it easily for storage when not in use. Mission accomplished and out of pocket $$, well it is hard to tally a cost for this project as I didn’t spend a dime to purchase anything, all the lumber was scraps or left-over’s from other projects.
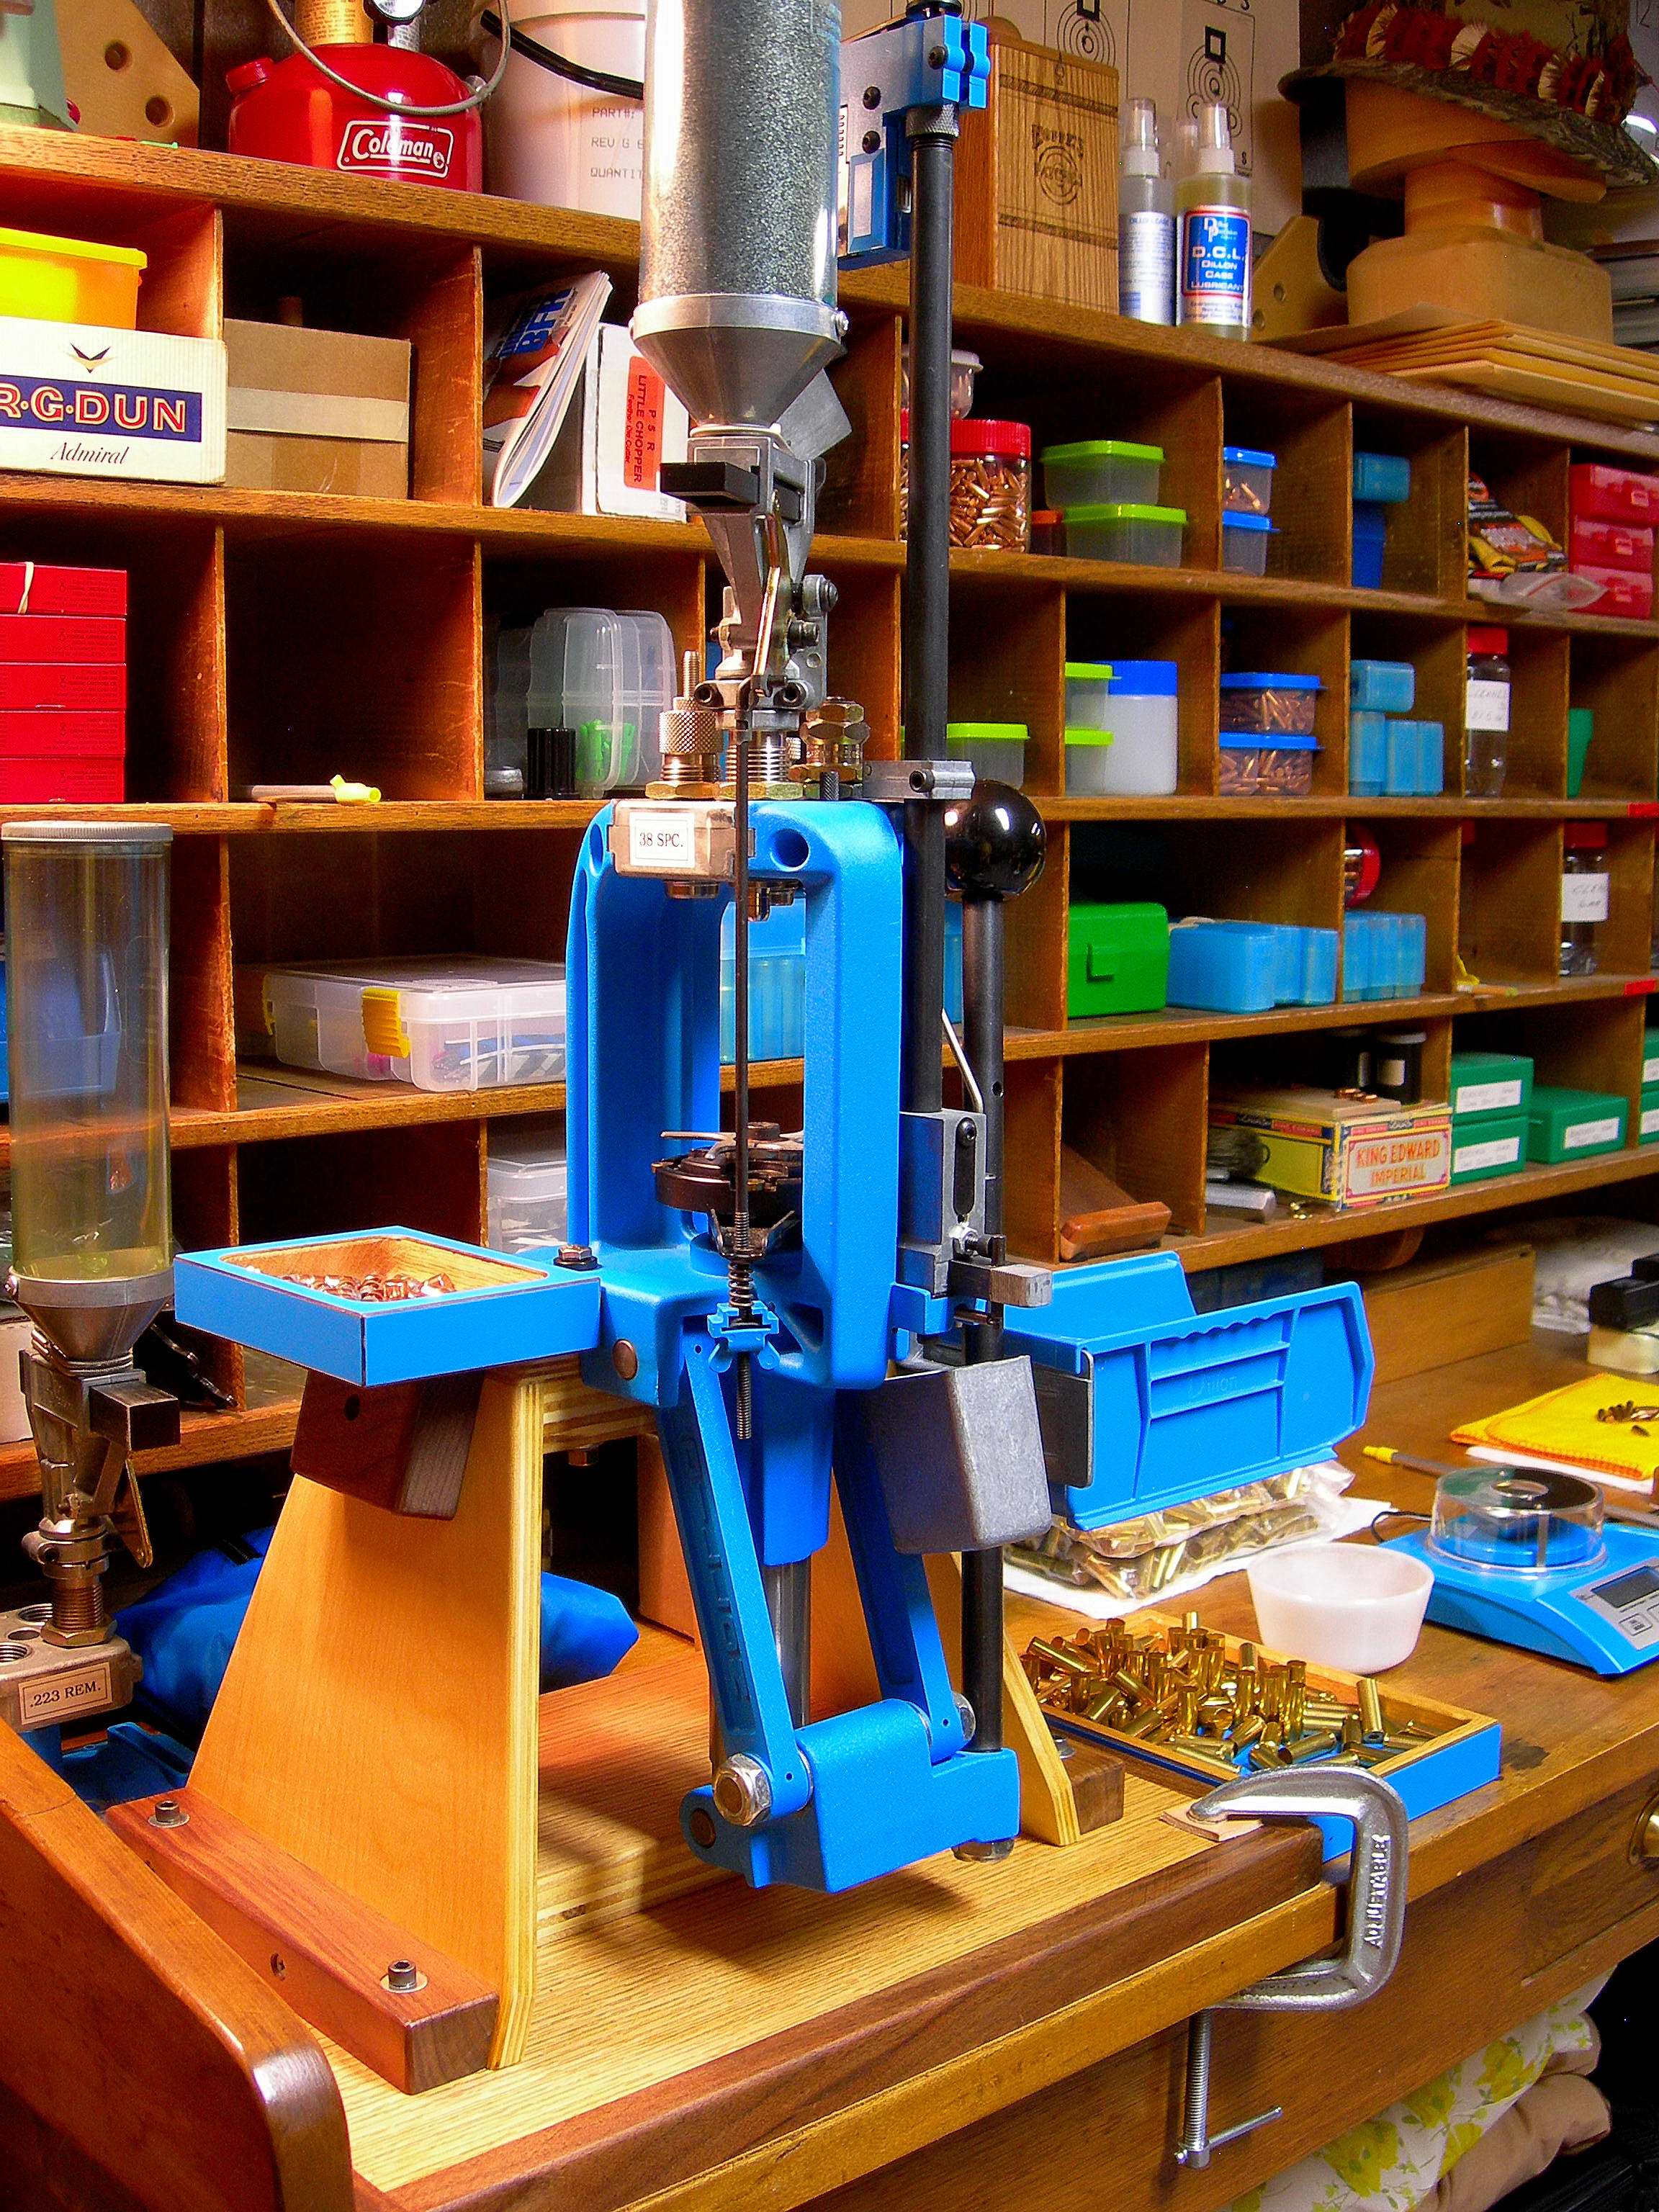
Dillon in use after many years…
After pumping out a thousand 38’s and 357 I am pleased that I did not cave into the temptations of selling it.
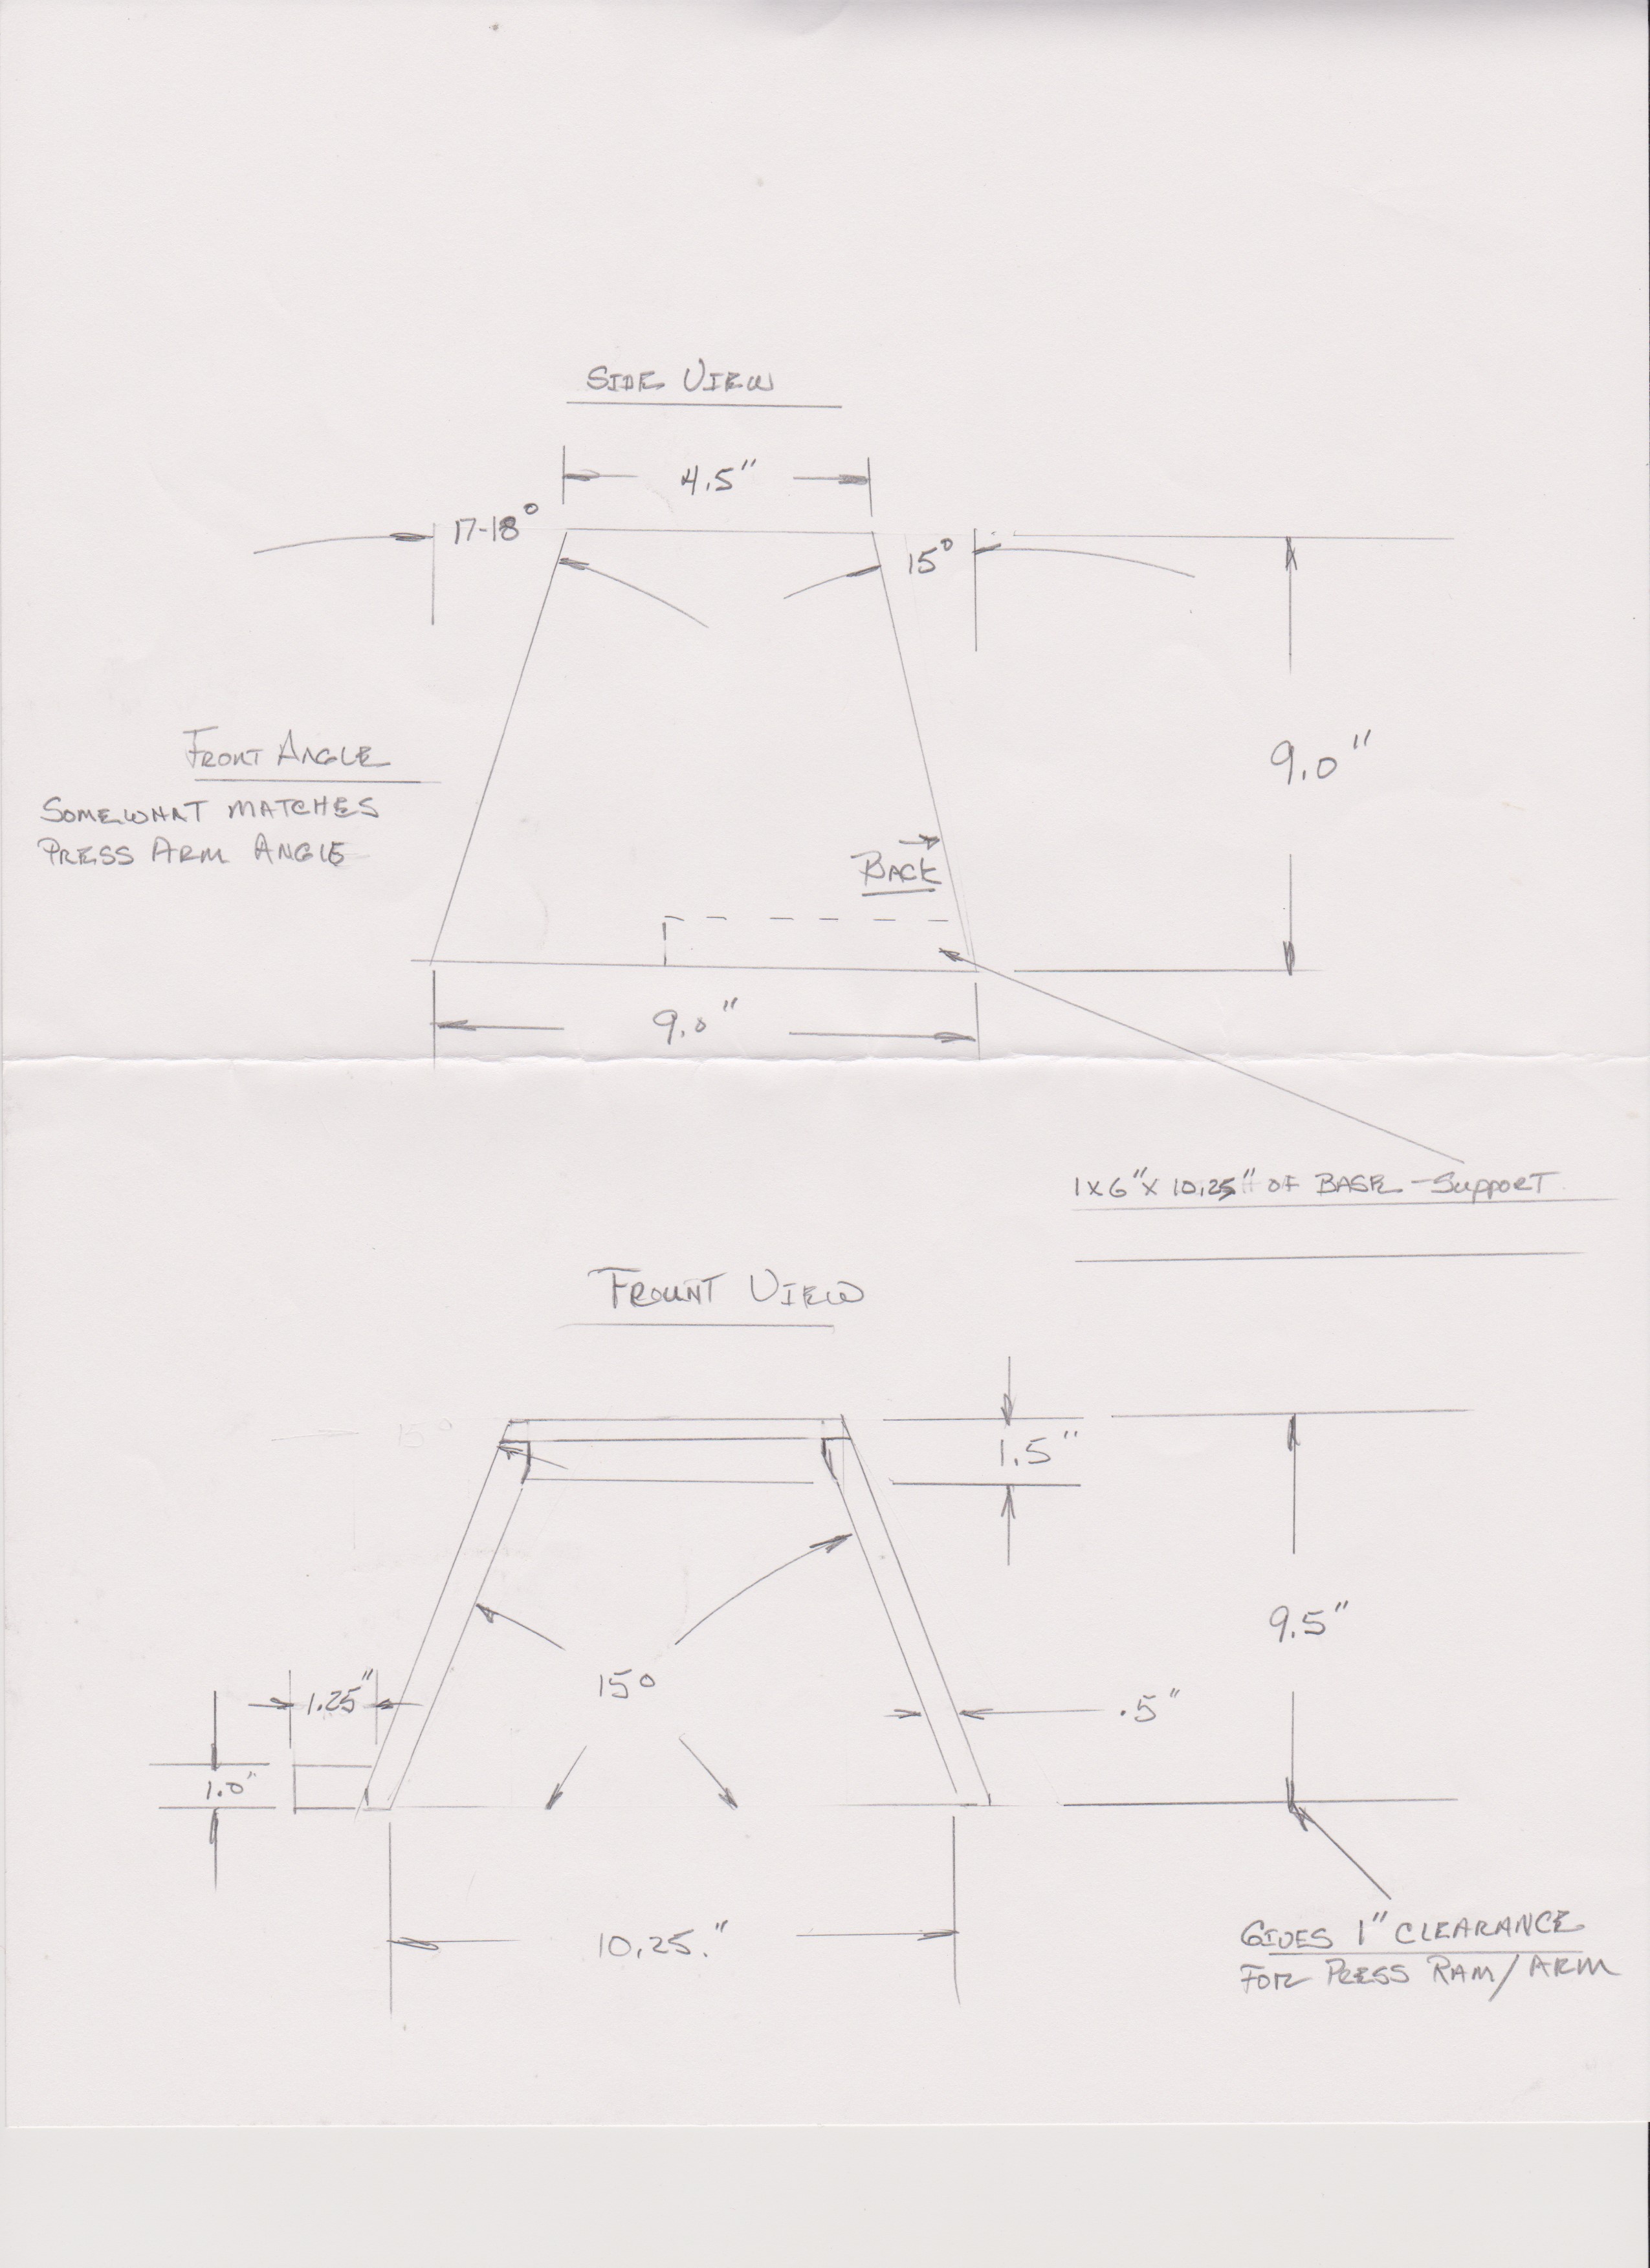
For those that asked here is a drawing with some basic/ simple dimensions of the mount that I built. Everything herein is approximate, angles are as close as I could measure, not everything comes out perfect or exact, that is what they make belt sanders for.
Best regards on your adventures…………
Up-Graded Dillon Case Feeder 2021
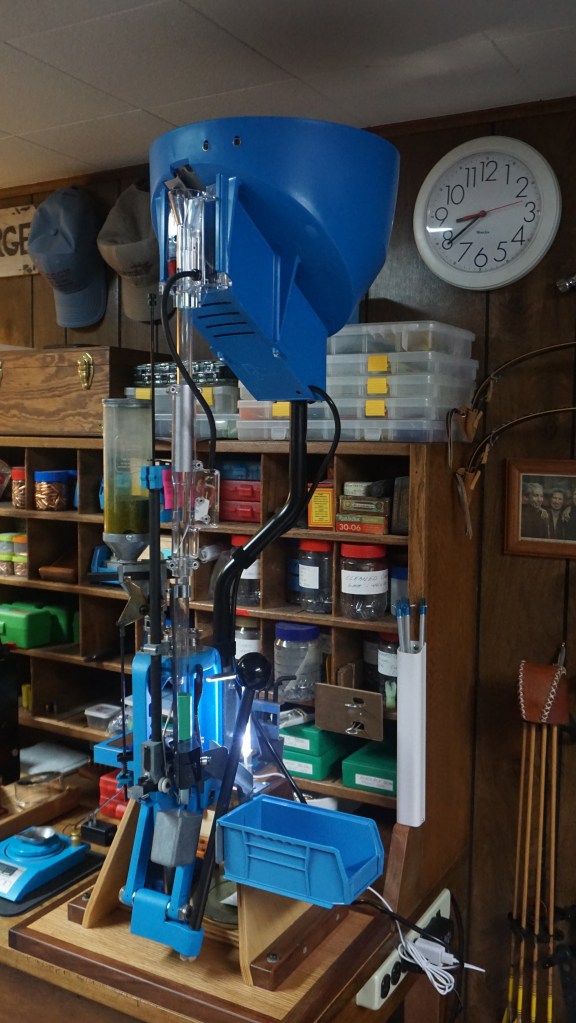

Dillon Case Feeder
2020 project, more of a necessity than a want for age has pitfalls, I have noticed in the past couple years that doing tasks with small objects has become tedious. Not to say I cannot do these finesse tasks anymore just they have become more difficult due to dexterity something one looses with age so it seems. I found that reloading 9mm Luger was time consuming and handling these little brass cases after cleaned and waxed was difficult so I decided that I need a case feeder. Being frugal at this point is pointless, there is one price and shipping unless someone has a sale somewhere but I’m not willing to wait for the day to come. I found one somewhat locally, drove there to find out it was the wrong one so ordered thru them and received shipping free because of their mistake, wasn’t going to argue.
The down side!
One would figure that this complete outfit would just bolt on and no problems….. well I was wrong.
Here is the reason I am adding this to my site, my press RL550B was purchased new in 1996, maybe quality control at that time allowed for frame castings to be out of square for at that time there wasn’t a case feeder for this machine, dunno but mine is. Got everything bolted on and the alignment was 8 inches off, no adjustment to correct this either. Well now I’m here to tell that without my shop (lathe and a mill) things would have been very difficult. No I did not take the press apart and mill the casting, considered that but more work than I wanted also didn’t want to destroy the paint so I made tapered shims and modified the bracket. I also contacted Dillon ahead of ordering the case feeder and asked if I had to do a frame up-grade, their answer was no. During the fitting process we spent time searching YouTube for installation videos, none could be found so one is on there own when installing this on their 550 unless something is currently available.
Finally when finished and working, alignment looks good and everything works my feeder sits 4 inches from the ceiling. This is difficult to dump cases into the feeder so after measuring and brain storming I decided I could cut 3 ½ inches out of the support arm and drop tubes to lower it……..even after doing this there is still no way I can out run the feeder and if I wanted to modify more of the brackets I could cut another 2 inches out but at this point things look and work good.
Time to load some…………case feeds 1 – 2 – 3 cases and jams!! Clear, 1 – 2 and jams!! Dido and Dido and Dido………F*$@%!g POS constantly screws up…….now what I thought was going to be a 3-4 hour job at most has been 2 days and the air is BLUE down here. I have gone from basement to shop countless times, my fit-bit is going nuts on flights of stairs and what was going to be a pleasure has turned into a job form hell!
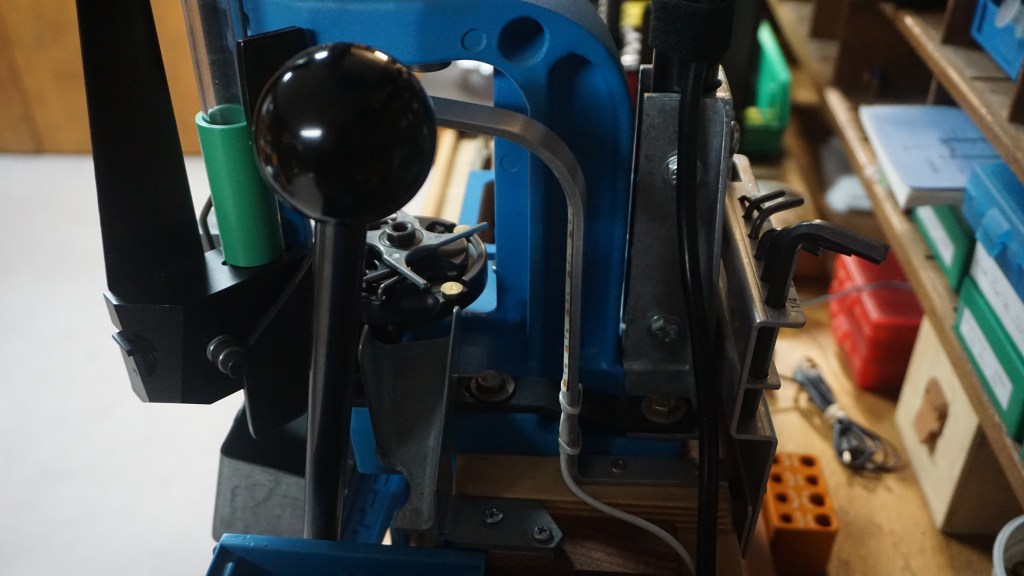
Finally on day 3 I found the culprit, we are back to a 1996 machine with maybe quality control issues that would not be a problem and wasn’t a problem until adding on this feeder. The turret that bolts on the ram and holds the caliber change plate has a step in it, the little 9 cases would tip and catch on two sharp points milled in it and jam the case. The fix was using my Dremel tool and polishing down these sharp points, something difficult to detect or find, works flawless now. I was concerned about noise of the case feeder but was surprised how quiet it is. Ask me if it was worth it and I would say yes, saves the fingers and speeds the process, quiet enough can watch TV or listed to the radio with no trouble.
So do not misunderstand my post, Dillon has been great and I’m not slighting them in the least just beware of what might happen up-grading an old machine.
Work Light…….
It would be nice to have a work light that fit the center hole, as far as I can tell nothing is available thru Dillon so I made my own. Amazon I found a sewing machine rope light, fashioned a bracket and mounted to the rear press bolt.
Update: eBay has a light for the 550 now, down the road I might order one but for now what I have works. There are also some other accessories available for the 550 and others, knobs for the powder measure adjustments that eliminate the wrench etc. so one will have to check them out. The knob I made is a time saver and eliminates having a wrench besides could never remember which way to turn it but now I have the knob stamped.
As for me I ended up making accessories, the knurled knob for the powder measure adjustment, and extended shell pin, what keeps the casing in position when loading, this aids in removal when checking powder charges.
As of to date (2021) I have loaded around 3K, pretty much flawless except for an upside down case occasionally, something to expect….nothing is perfect.
