Project double duce plus three….223 Remington
Things don’t always work as you think they should and that is what I am about to explain. My thought was to return my .223 Rem. Varmint back to its original factory stock so it would be legal for the factory class and for that I was going to pillar bed it. I had the action trued some 7-8 years ago and after that I dropped it into a H&S Precision Police stock, I had noticed that cases and bullets were getting scared pretty bad and it didn’t chamber a round smoothly but it wasn’t used much and when it was I dropped single rounds straight in the chamber. Now before I bed it I wanted to make sure that when switching barrels with my setup that the recoil lug was in the proper place so it was time to remove and reinstall the barrel, also at the same time I wanted to cut a new crown.

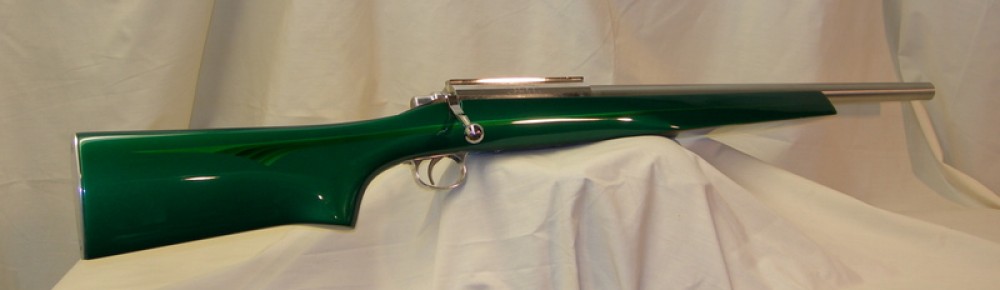
Stocks
The action wrench that I have for this is a Brownells which position’s the recoil lug when tightening the barrel; this setup has been very repeatable in the past.

Upper Half of Wrench


With everything clamped tight and to my surprise the barrel wouldn’t pop loose, I had to put a cheater bar on it, whack it with a hammer and almost pull the bench across the floor. This is where things started to go amuck, I would have thought it should have spun off quite easily but the threads were galled. ( A lesson to be learned, be informed, ask a lot of questions, ask the right questions before having someone work on your gun, there are a lot of want-a-bee’s and people calling themselves smith’s out there, be ware!) After it was all apart and I cleaned up the threads in the action and barrel stub, test fit everything to make sure it spun together easily.

Disassembled
Below I have clamped the barrel in my wood vise to inspect the bore, chamber and crown, if you do not own or have a bore scope available you should. I encountered my first bore scope some 18 years ago; I actually purchased it for where I worked. At that time we had it hooked up to a TV screen so we could record it on video or take pictures and this is an invaluable tool to have. I should add that you shouldn’t expect to know what you are looking at for it takes some time to understand what you see through a bore scope. Compare a custom SS Match barrel to a factory barrel and the later will look like a horror show, you will wonder how something that ugly could possibly shoot.

Bore Scope
Now the crown below is why it needed to be re-cut and the chamber mouth didn’t have a radius on it, is was sharp enough to cut yourself. (Back to lesson learned)


Before Chanfer
Lathe set-up to finish the chamber then turned around to cut and finish the crown. Now there are many ways to accomplish the finished piece, what I am doing may or may not be what you or someone else does, our methods for the same goal may differ but as long as good machining practices are used that is what is important. Everything is indicated as tight as possible and even on some areas that might not require that degree of precision but that is my way. I prefer to break the chamber edge by hand with a 6 flute countersink then finish with some emery cloth. The muzzle crown I cut with my own hand ground HSS tool bit then lap to finish, this is a matter of personal preference whatever floats your boat. Before I pulled the barrel from the lathe I threaded the action on it to check head-space and figured it would be ok with .002 crush, which is the stack-up of barrel, recoil lug and action which did work out about right.

Breaking Chamber Edge

Polishing

Finished Rad

Indicate Muzzle

Cut Crown

Lapping Crown

Finished Crown
If I were installing a new barrel on this action I would spec out the action and existing barrel stub to check all my clearances but since this was the same barrel that came on it I didn’t. (Big Mistake!!!) After all that work, putting it all back together I noticed that when I closed the action there was a slight resistance at the end of the bolt travel, strange I thought, what is going on?? ((Lesson to be learned, back to what I stated earlier, be informed be ware!!)) Using some scotch tape I put a piece on the front of the bolt, installed it in the action and it wouldn’t close, scotch tape is about .002 in thickness which means that my bolt nose clearance is under that and I should have .005 minimum, my preference for any hunting rifle is at least .010.

Tape Bolt Nose

Testing Clearance
So now we go through the whole process again, first spec out the action and barrel stub, figure what has to be done then back to the lathe to ( I might add that the actual bolt nose clearance was under .001) indicate, cut, chamfer, polish and test for head space. My head space was going to be .001 short so I decided rather than to cut the chamber I would lap the lugs in, this was not done when the action was trued. I am using my home made lapping device; it was patterned after a commercial model but with my own revisions. As can be seen they lapped nicely and when it was all back together my head space was at the minimum and all is well BUT.

Spec Action

Indicate & Cut

Checking Clearances & Head-space

Lapping Fixture

Lapping Lugs

Finished Lapped

Finished Parts
After all this I decided to leave well enough alone, keep it in the H&S stock, use it for its intended purpose and forget about playing bench games with it. If ya could see the factory chamber, if ya could see the inside of the barrel it would make ya wonder how it could stay inside .750 and will occasionally shoot low 4’s. I am putting this out here for FYI, do your home work before giving your pride and joy to someone and have it screwed up, there are a lot of plumbers out there many more than gunsmiths. At the time I had this action done I was still learning, I spent 4 years cutting metal, chasing threads, making small projects, doing set-ups, making tools, grinding tools etc. before I ever cut my first barrel. Good luck in your endeavors, I hope that there is something useful here and thanks for looking.

Which way to go???
Just one last word, with the surge of individuals buying lathes, chambering a few barrels then open up for business doing gun work it pays to do your homework, most think they understand what they are doing and I think some do but be ware. Understanding and using good machining practices is key, they don’t just happen they are learned, practiced and honed over years.

NEET GREAT JOB VERY NICE