The statement; this is my way of doing things and may not be 100 percent correct according to the pros, I do not care nor want to argue about the why’s, do’s and don’t for I have success in my methods. I give info freely when asked and then am told that you can’t do it like that, that’s wrong, you should do it this way, this shouldn’t be used, etc. etc. etc. Ask 10 different people and you will get 10 different answers so if it doesn’t fit your way, I don’t care.
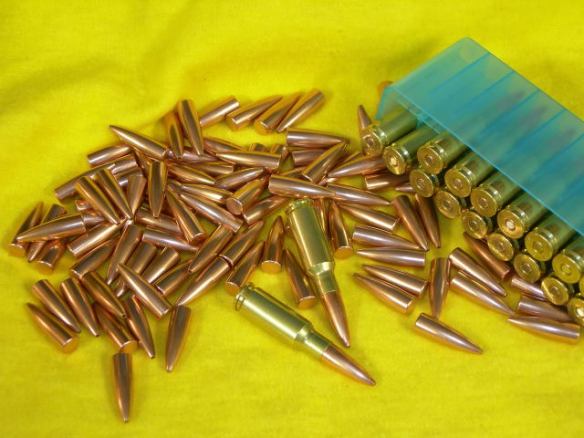
The ensuing pictures and text is my attempt to add insight as how jacketed bullets are made on a home scale. There are many articles and books on this subject as to the proper procedures and practices for small business bullet manufactures, and this is in no means to overshadow what has been written and published on the subject. What I am attempting to show is how an individual, can on a limited budget, make their own Benchrest Bullets.
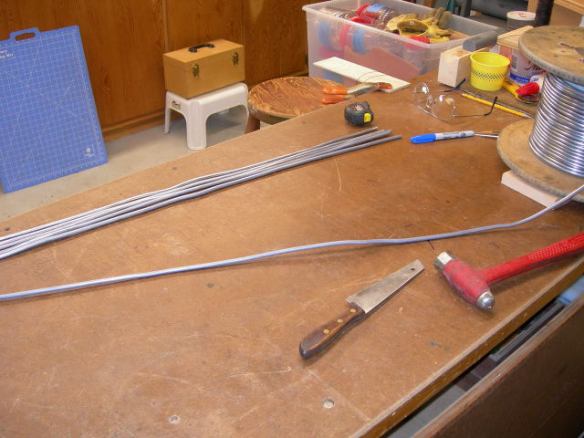
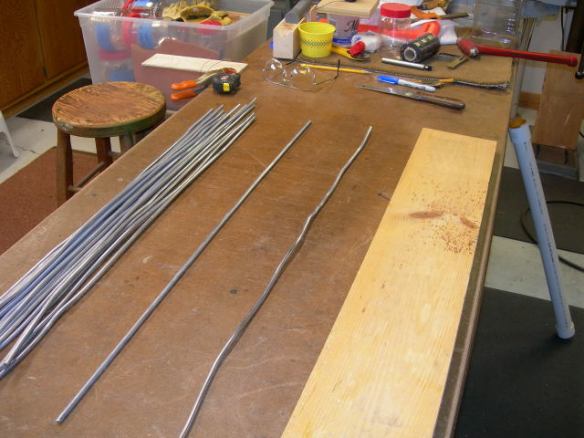
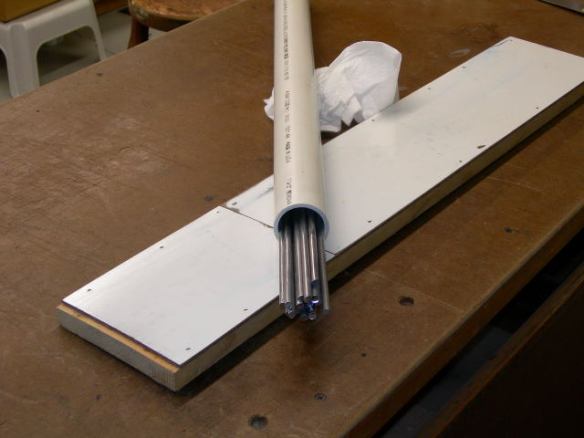
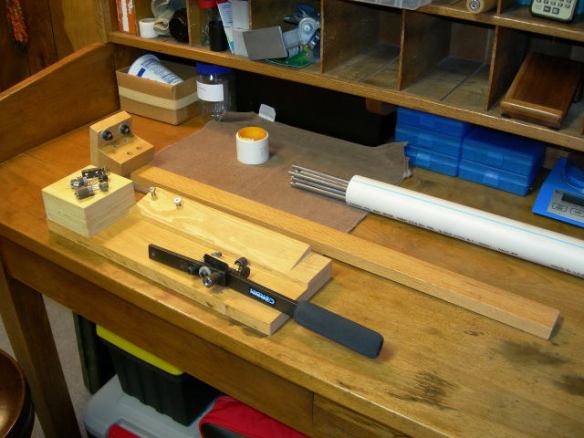
First we start with lead wire; in this case I am making 118 Gr. 30 Cal. bullets for use in my 30 BR. The lead wire comes in spools of 25-50 pounds and can be made in various sizes and composition, (That is the amount of tin or antimony added to the lead) the most common is pure lead or ½ percent antimony. I am using pure lead for this application, but after my stash is depleted I will change to the ½ percent antimony on future orders, I believe the cores cut a little cleaner with the latter. I strip and cut 30 inch pieces, lay flat on a bench and roll them to straighten (get the kinks out); then wipe them down with alcohol to clean them from any foreign materials. The lengths of lead wire are stored in a piece of PVC pipe until I am ready to cut cores, the reason for 30 inch lengths is I can get 50-53 cut cores form this length and it is easily managed in the core cutter.
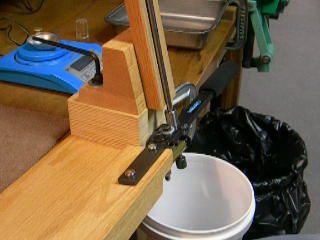
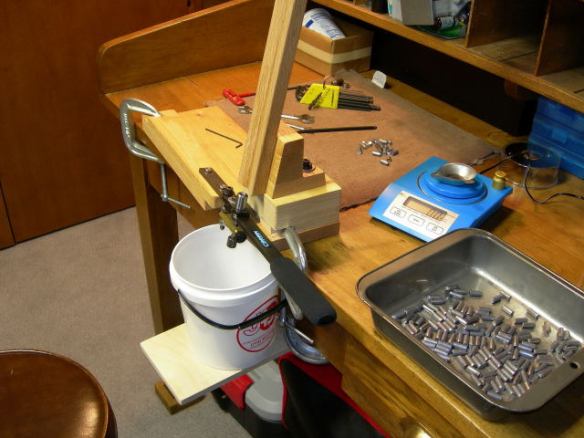
This next picture shows my Corbin/ Averill core cutter, it never worked to my liking so it has been modified to facilitate cleaner cuts, easier weight adjustments and an attempt to make it more user friendly. I have made new dies for both the 30 and 6mm, the ones that came with it just wouldn’t do and made things just too slow. It is still in its proto-type stages, and as time and funds permit I will remake it in something other than Oak but for now it will remain as is. I disassemble this for storage when I have finished the yearly supply of bullets and as the next picture shows it is assembled for the task at hand.
Cutting cores should be as precise as the core swage process, I use my Dillon scale set next to the cutter and monitor the cut cores very often. If I want a swedged core to come out to let’s say 80 grains the cut core needs to be about 3 grains heavier or 83 grains. If your cut cores vary more than a ½ grain your swedge cores will show that also, and you need that 3 grains over the target for bleed-off. Now as to how close the cores can be kept, with pure lead and my set-up I can maintain a consistent 1 ½ grains plus/ minus which isn’t as good as the 6’s with ½ percent antimony but close enough, the 6 wire just runs better. There are other factors that control core weight, if the diameter of the wire varies so does the core weight. To expand on pitfalls, my first spool of lead wire was ordered at .250 diameters, it should have been ordered at .247-.248 so it would go into the core swage die after they were cut. I cut about 500 cores before attempting to swage them, I ended up scraping all of them for they couldn’t be pushed into the die, lesson learned. The problem now was I had 50 pounds of this stuff and couldn’t use it as is so to solve the problem I made a set of draw dies and proceeded to draw all that lead down to .247, lots of extra work but I learned a lot. (At some time in the future I will explain how to draw lead wire, it has come in handy several times since.)
Now that the cores are cut they need to be lubed before the core swaging process, I use a lanolin based lube on my cores, at this point use what you want, some use 3 in 1 oil and a countless array of concoctions, I just do not want to use a patrolmen based product, it is just to hard to remove from swaged cores. I add the lube and let them sit in the pan next to the press, if it is going to sit for a couple of days I cover the pan.
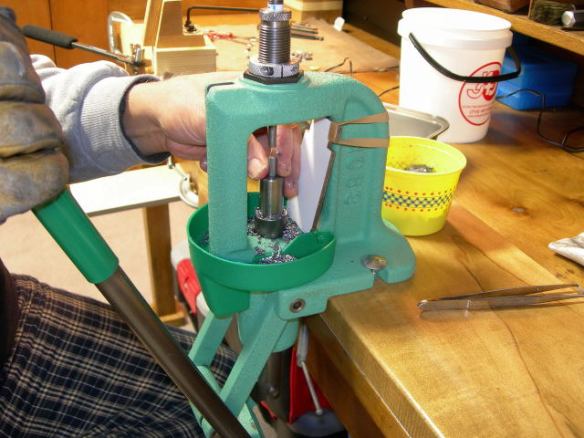
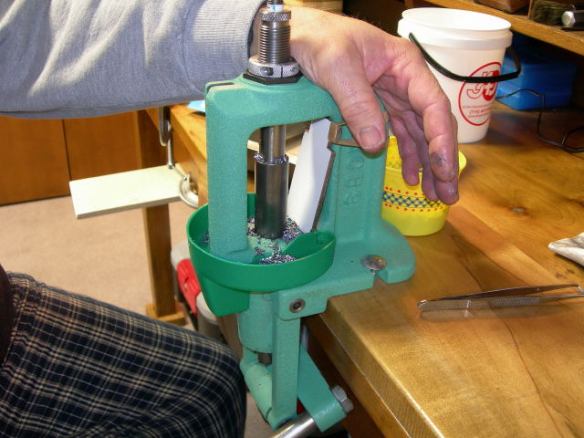
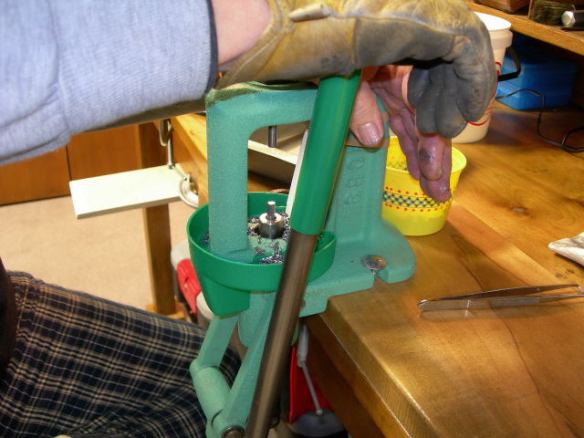
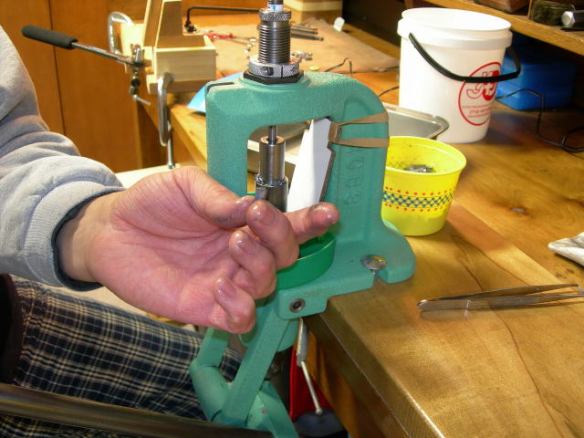
Next is the swaging process, my dies are upside down as apposed to most dies that the commercial bullet makers use, this means that I have to pick up the core from the die instead of it falling out. I have 4 Rockchucker presses, all of which have been modified for bullet making but only use 2 for this purpose, the others are used for reloading. Out of the 4 I have one that the ram has too much slop in it to use it for core seat or point-up so it has made its way to under the bench but it can be used for core swedge if need be. It took me some 6 years to find these presses; all are in pristine condition, even the one with too much slop. The ensuing pictures are of cut core inserted into die, swedge, ram retracted and the finished swaged core.
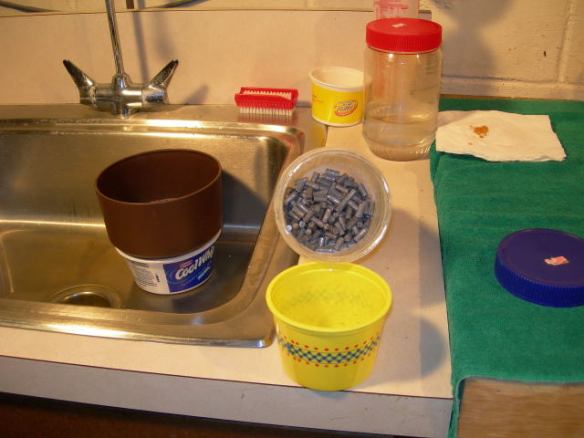
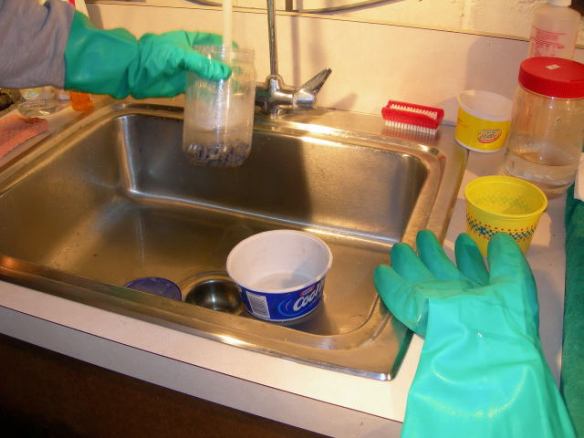
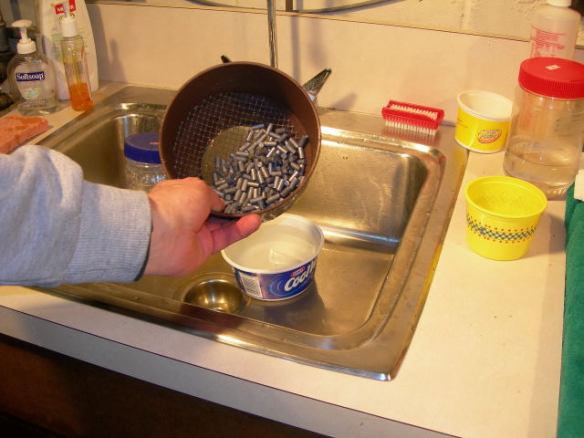
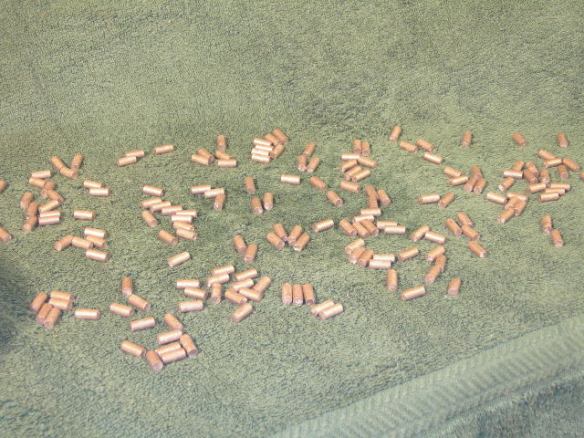
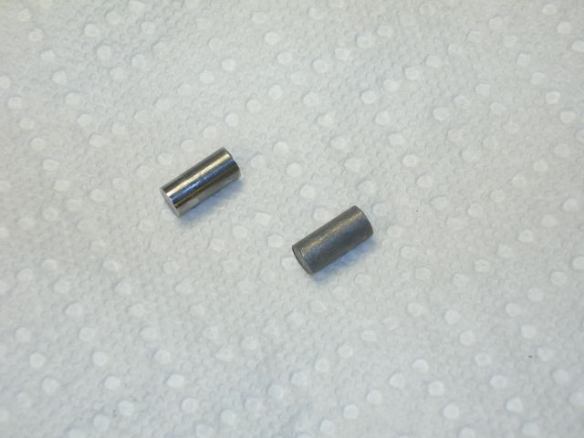
I have told others what I use and received so many negative responses I have given up telling anyone what I use. The array of lubes and concoctions one comes up with is to numerous to mention, I personally will not use petroleum based products; all my lubes are Lanolin based with one having an alcohol carrier. As anyone can see by the pictures below that when I am finished cleaning the cores are lube free and etched.
The two cores below show the before and after, the one on the left is before cleaning and etching, the one the right is after the process is finished. This process ensures good adhesion to the jacket walls so the core doesn’t slip inside the jacket
At this point I have to stop and will resume with the rest as time permits.
I have posted on threads in the past that this is a one man job, not a community effort for if it were one should just purchase bullets form a reputable source. I was asked when I started what my goal was, did I want to make better bullets or just to save money for if it was to save money I should just by them. The point is we make our own bullets to catch the bad one’s, culls that would be missed by a production operation, the ones that move ¼, ½ to 1 inch from the group, the unexplained flier or what just happened??, I can’t believe it went there, this is where the one man operation comes in. What you feel while swaging someone else may not and pass that bullet, you acquire a feel with each press stroke and when it doesn’t feel like the last one it is culled, so keep it to yourself, piece of mind, this is the purpose of making your own bullets.

Makes more sense. Thanks Rick
Nice job on the core cutter, that makes a great deal of sense. Thank you for taking the time to document this.
it is funny that folks want to ask you how to do something and then tell you that you are wrong after you have done it. there is an old saying that is more then one way to skin a cat. I have found that to be true in the 45 years of toolmaking but then again i have oil running down the sides of my Bridgeport and the table is always covered in a light coat of oil so what do i know.
the cutter you made is much like the wire cutter i use to cut lengths of wire for springs that have to be + or – .002 in length as to finish in a die the only think i can see you could do to make it a bit more accurate it to use a indicator to control your length. but if what you have works for you then not. i will follow this as i am working on the same thing as time permits
Thank you for going through all the effort to post this.