As with any sport there is a constant evolution or to say change, change is good most of the time until you gets older then change is bad or so to be perceived. In my case I am constantly on the move, wheels turning, ideas spinning around in my head, the need to create, remake or improve and some times or should say many times things don’t work out. As the old adage says nothing ventured nothing gained and one other says if it aint broke don’t fix it, both adages have merit and I use both to the fullest.
I recently (this past winter) chambered a 30-30 Win. on my 700 Remington Hunter gun, I decided to revisit the HBR class, I gave up on this class some 5-6 years ago for one reason, I was getting beat up with that .308 Win., just too much kick and wasn’t having fun. This project spurred the need for change on my front rest; I was getting tired of carting 2 rests around and didn’t like the Hart rest for my hunter so here is what happened.
In the first pic is the Hunter top that I made (and must add it was made on my table saw many years back) that attached on top of my Hoehn flat bag windage top, just had to remove everything on top and two screws held in on. This added another ½ inch plus in height, worked well but just needed to be lower and a few other modifications.
In the next pic is everything in pieces, I decided to use the Hoehn windage top as my base over remaking everything. I need to clarify one thing in defense of all the great people that manufacture and sell products for our sport, there is nothing wrong with the design and function of Ron Hoehn’s windage tops, I used this top for many years on the Hart rest until I purchased my Bald Eagle. What I am doing and using today is solely my personal preference and part of the evolution.
I am very aware that by now you are laughing, looking at the amount of holes that have been drilled in the base but keep in mind that everything can be put back to the original Hoehn top if need be in a matter of minutes.
I copied for the most part my Bald Eagle windage top, with exceptions of using a class 3 fit on all screws and UHMW bag retainer front and rear.
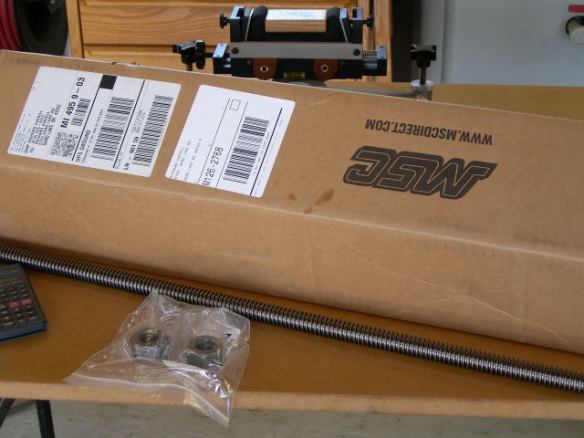
As all of this came together, just finished taking pics and had cleaned up the shop the man in the Big Brown Truck drove in with MSC’s order. Now my Bald Eagle has a acme quick post so the new top had to have one also, the original acme is a 5 pitch, MSC doesn’t list that but they do have a 6 pitch so I decided to go with that and ordered 2 nuts to match. Why use an acme?? Plain and simple, the OD of the acme screw is larger than a ¾ – 10 screw thus the fit is closer and that reduces the slop, if I were to use a std. ¾ -10 it wouldn’t lock up the same.
This next pic is the makings of the Mainer wheel, the nut has been turned down and fitted to the wheel center, all holes drilled for the pins. As with many of my projects I use what I have available i.e. the aluminum wheel hub came from end scraps of my neighbors business thus the reason it is 4” and pins added. If I could have found a 5 ½ inch round I would have milled groves as the same as the Bald Eagle. I forgot to show that there is a recess turned into the bottom of the wheel for the thrust bearing, this is part of the quick post set-up from Bald Eagle, sooo smooth.
Next is the completed wheel, I used epoxy to hold everything together, it also allows me to take it all apart if need be.
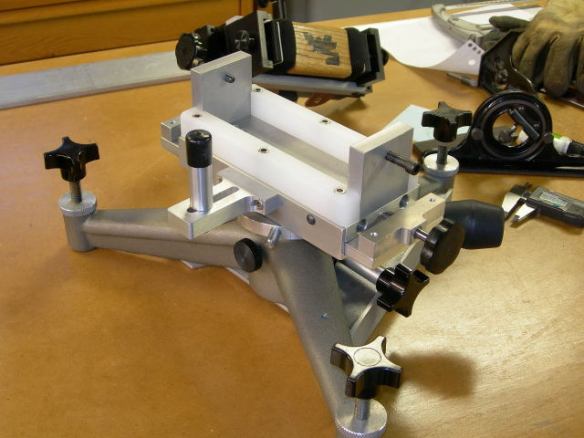
In this next pic I have completed the top for the most part; there are some small details that I did not record and some things not done yet, knobs on bag tension screws. One thing that I did different, most of the tops have a round rod for the forend stop, I find that I didn’t like the flex so I milled one out of aluminum. There are a few high dollar rests out there that have this style, rock solid and a definite plus, well worth the time.
This is my first project with the Bridgeport, it is hard to believe that I spent this many years without it. The ease of use and everything fits together when done, it even looks somewhat professional. LOL!!!!!


